 Important criteria in choosing a dessert for a Passover seder (the festive ritual meal served on the first two nights of the holiday) are ease of serving to a sizable number of guests, little or no last-minute preparation, and of course delicious flavor without being too heavy after a big and lengthy meal. For families who observe all the Jewish dietary laws, the dessert must not contain dairy ingredients unless the meal is a vegetarian one. These cupcakes meet all the criteria! I adapted this from Marcy Goldman’s recipe for Decadent Fudge Brownies, as it was reprinted here on Epicurious from her book A TREASURY OF JEWISH HOLIDAY BAKING. Incorporating several suggestions from bakers who commented on the recipe and adding some changes of my own, I came up with the recipe below. My husband says these cupcakes are good enough for any time of the year—the ultimate compliment for a Passover dessert!
DECADENT PASSOVER BROWNIE CUPCAKES
Makes 14 to 15 cupcakes
Note: All ingredients should be kosher for Passover if you are baking for the holiday.
14 TBSP (1C minus 2 TBSP) granulated sugar
14 TBSP (!C minus 2 TBSP) light brown sugar
3/4 cup unsweetened cocoa powder
1/2 tsp salt
3 eggs, beaten
1 tablespoon brewed coffee or Passover liqueur
7 oz (1 C minus 2 TBSP) extra virgin olive oil, mild or intensely flavored
1 C minus 2 tsp matzah cake meal
⅔ C chocolate chips or chopped bittersweet chocolate
½ C golden raisins (If dry, plump in hot water and drain)
Chocolate sauce or frosting (see recipe below)
Passover confectioners’ sugar for dusting unfrosted cakes (optional)
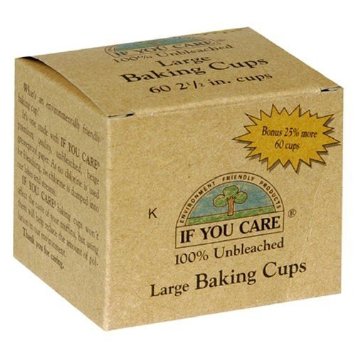

Preheat oven to 350°F. Put cupcake papers in 12 muffin cups. Have extra single free-standing cups available on a small baking sheet or shallow pan in case you have extra batter.
For a 14-Cup capacity food processor you can use this quick method:
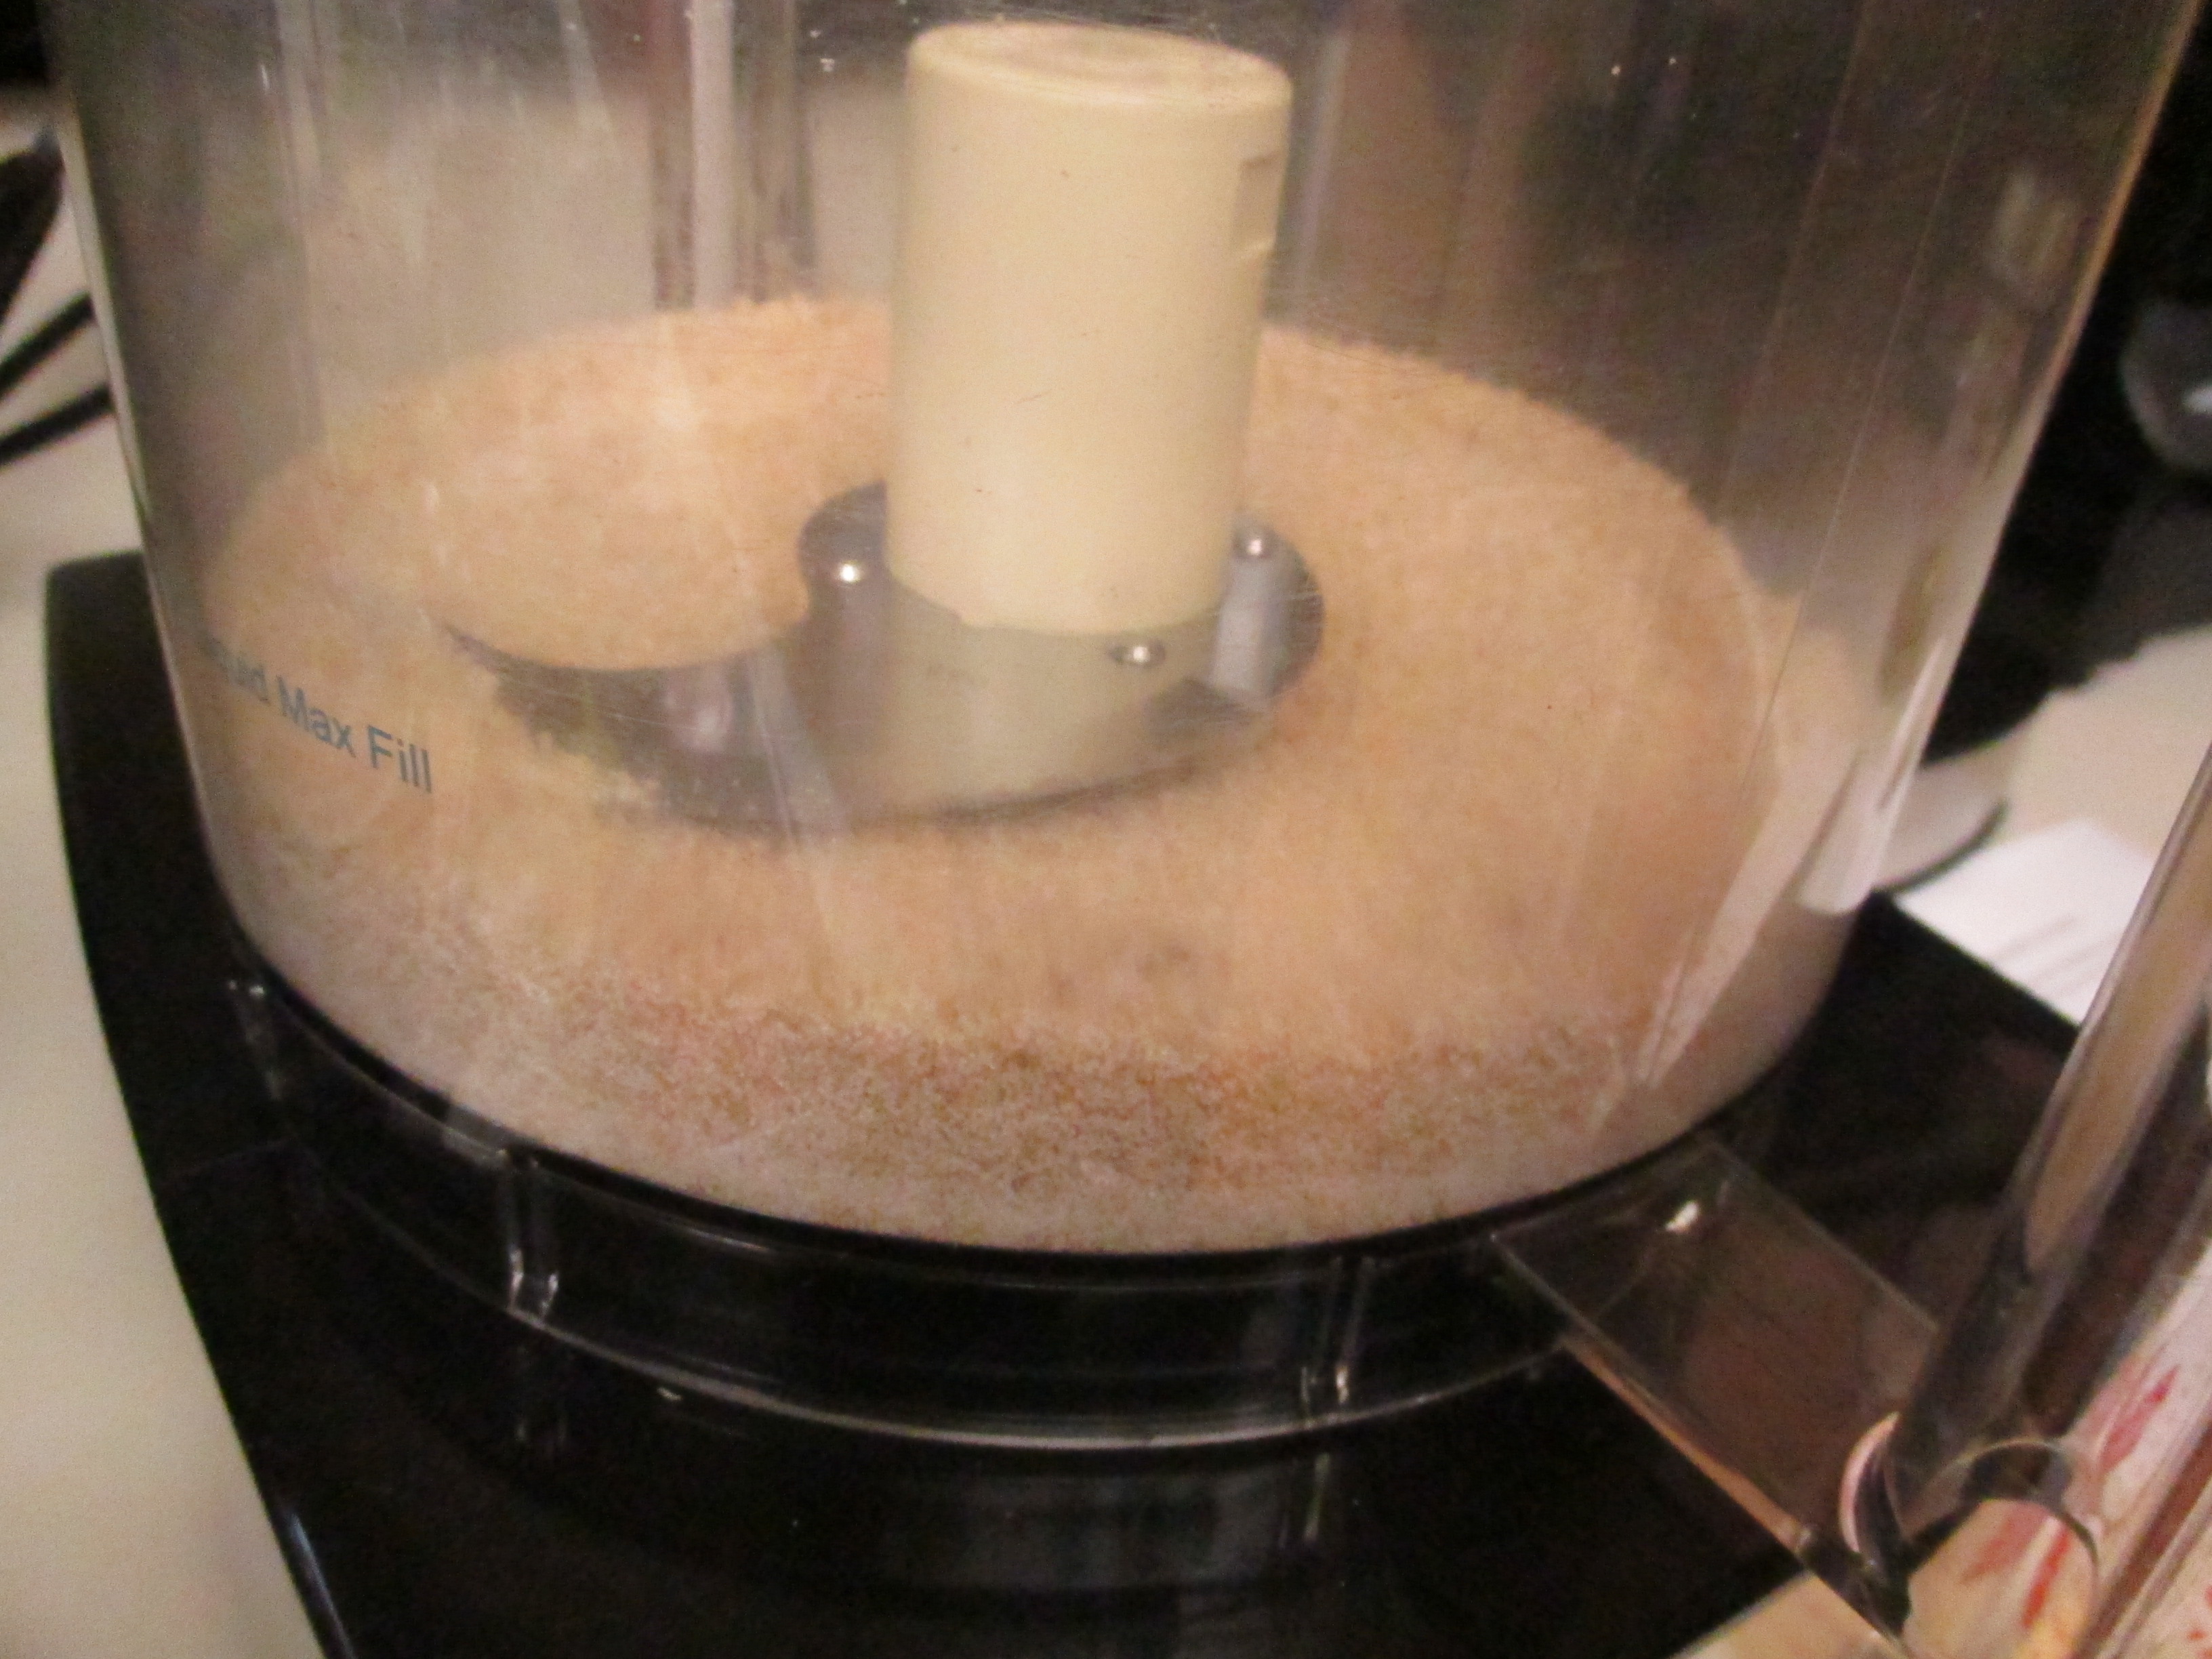
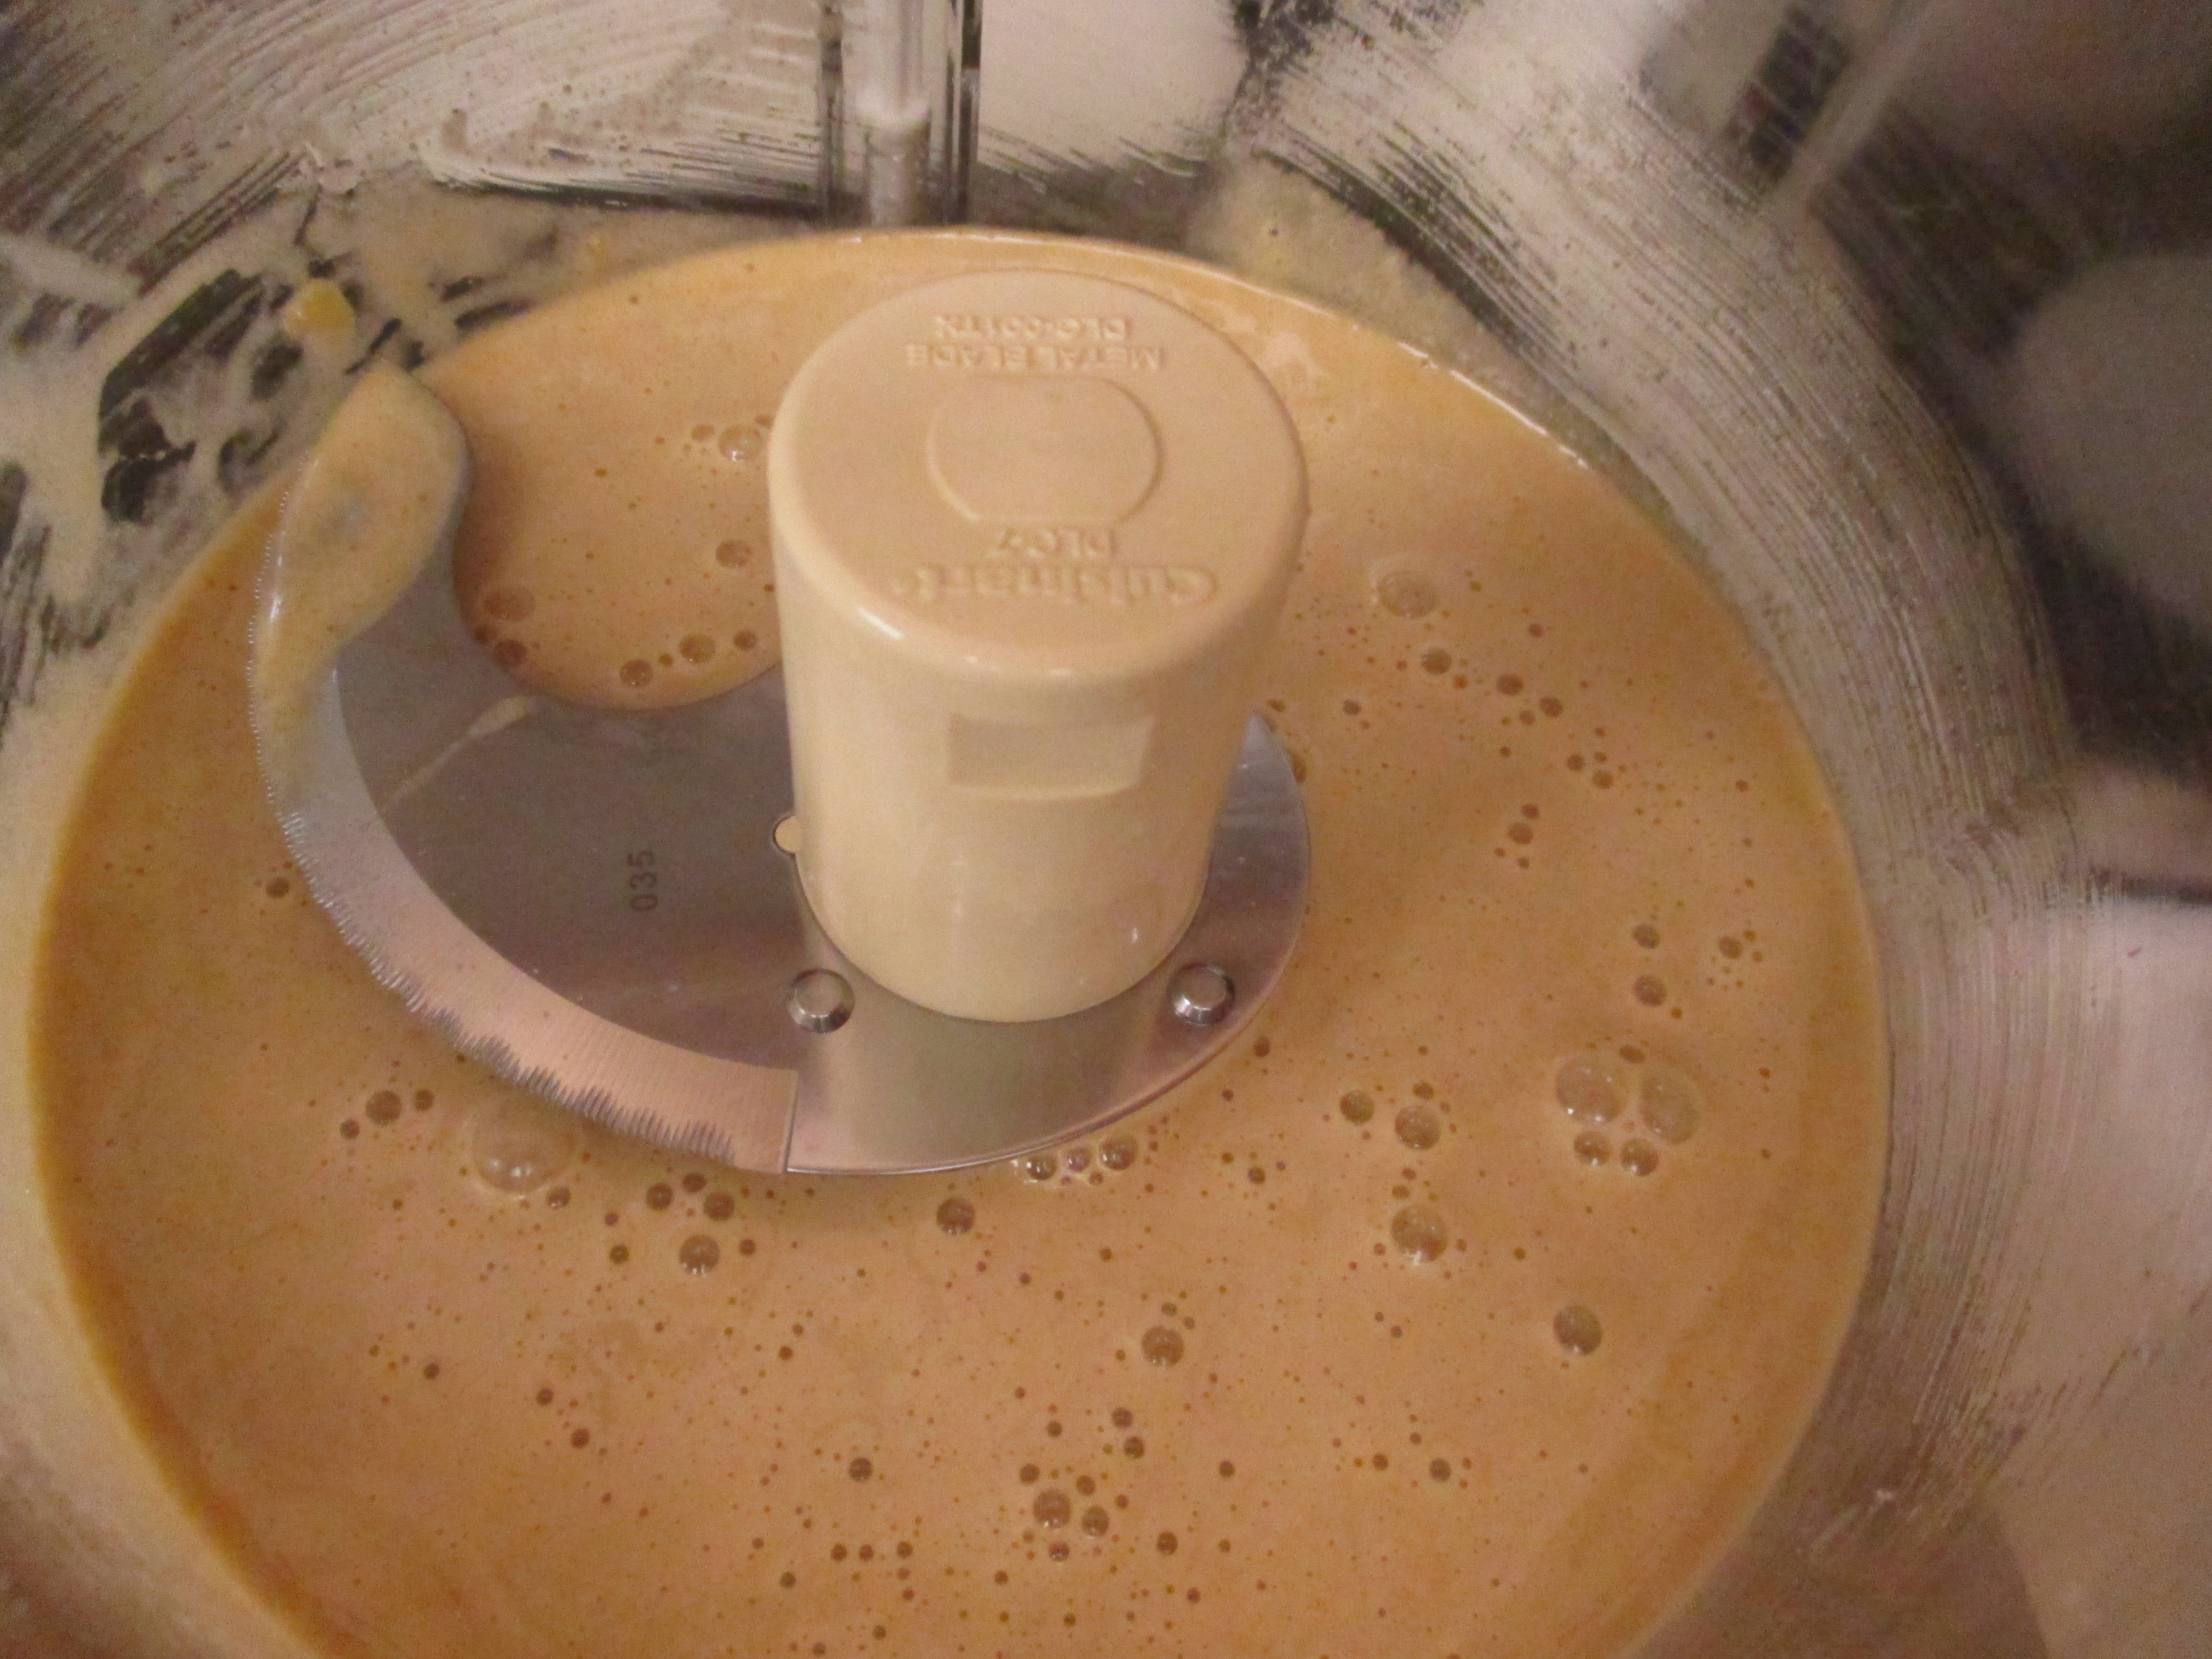
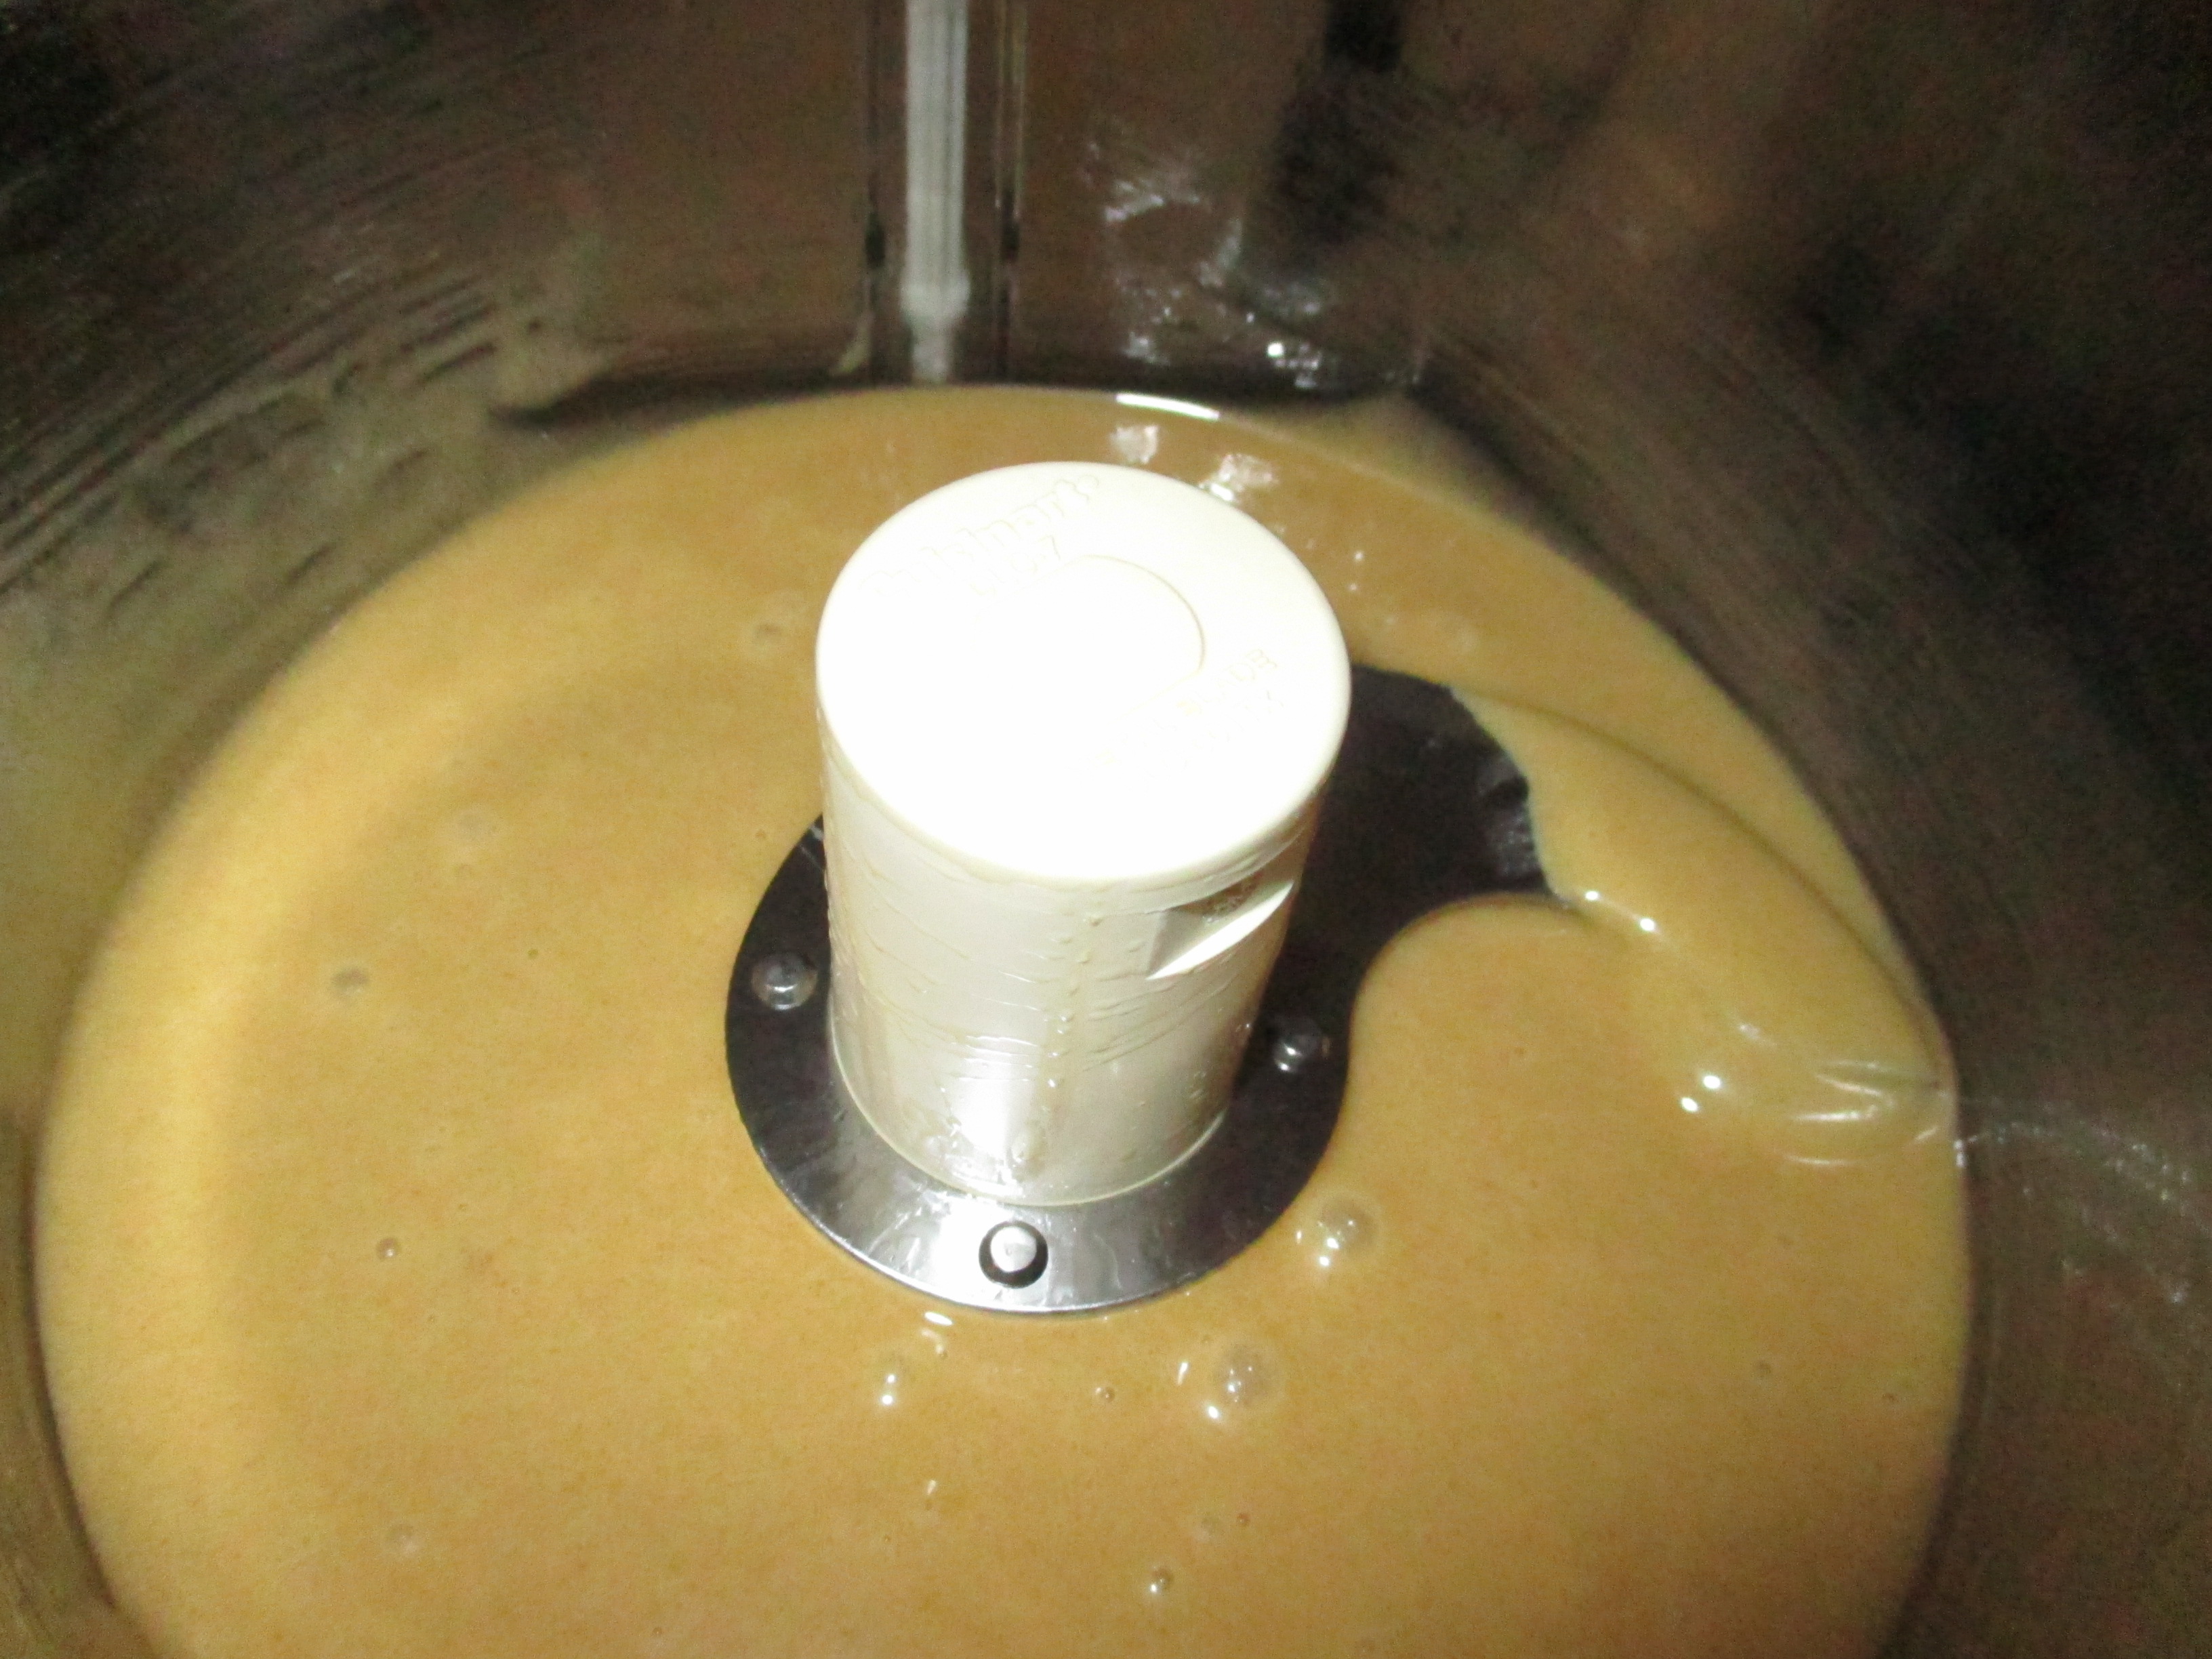
(My photos were taken when I made a trial half-batch of the batter, hence the low levels of ingredients in the processor bowl. In the photos I did not add the cocoa initially; it was whisked smooth with the cake meal and then pulsed in near the end. With the processor, lumps are so easily eliminated that, in this recipe at least, the order of addition is not critical.)
Combine sugars with the cocoa and salt in bowl of processor; run machine to make sure all is evenly mixed with no lumps. Add coffee and eggs and process to combine well. With machine running, slowly add the olive oil. Stop machine and remove lid. Sprinkle on the cake meal and pulse just until it disappears. Sprinkle on the chocolate chips and raisins and pulse just to distribute them in the batter. You can even out the distribution as you portion out the batter. Follow directions below for portioning and baking the cupcakes.
For mixing by hand and using a little more equipment:
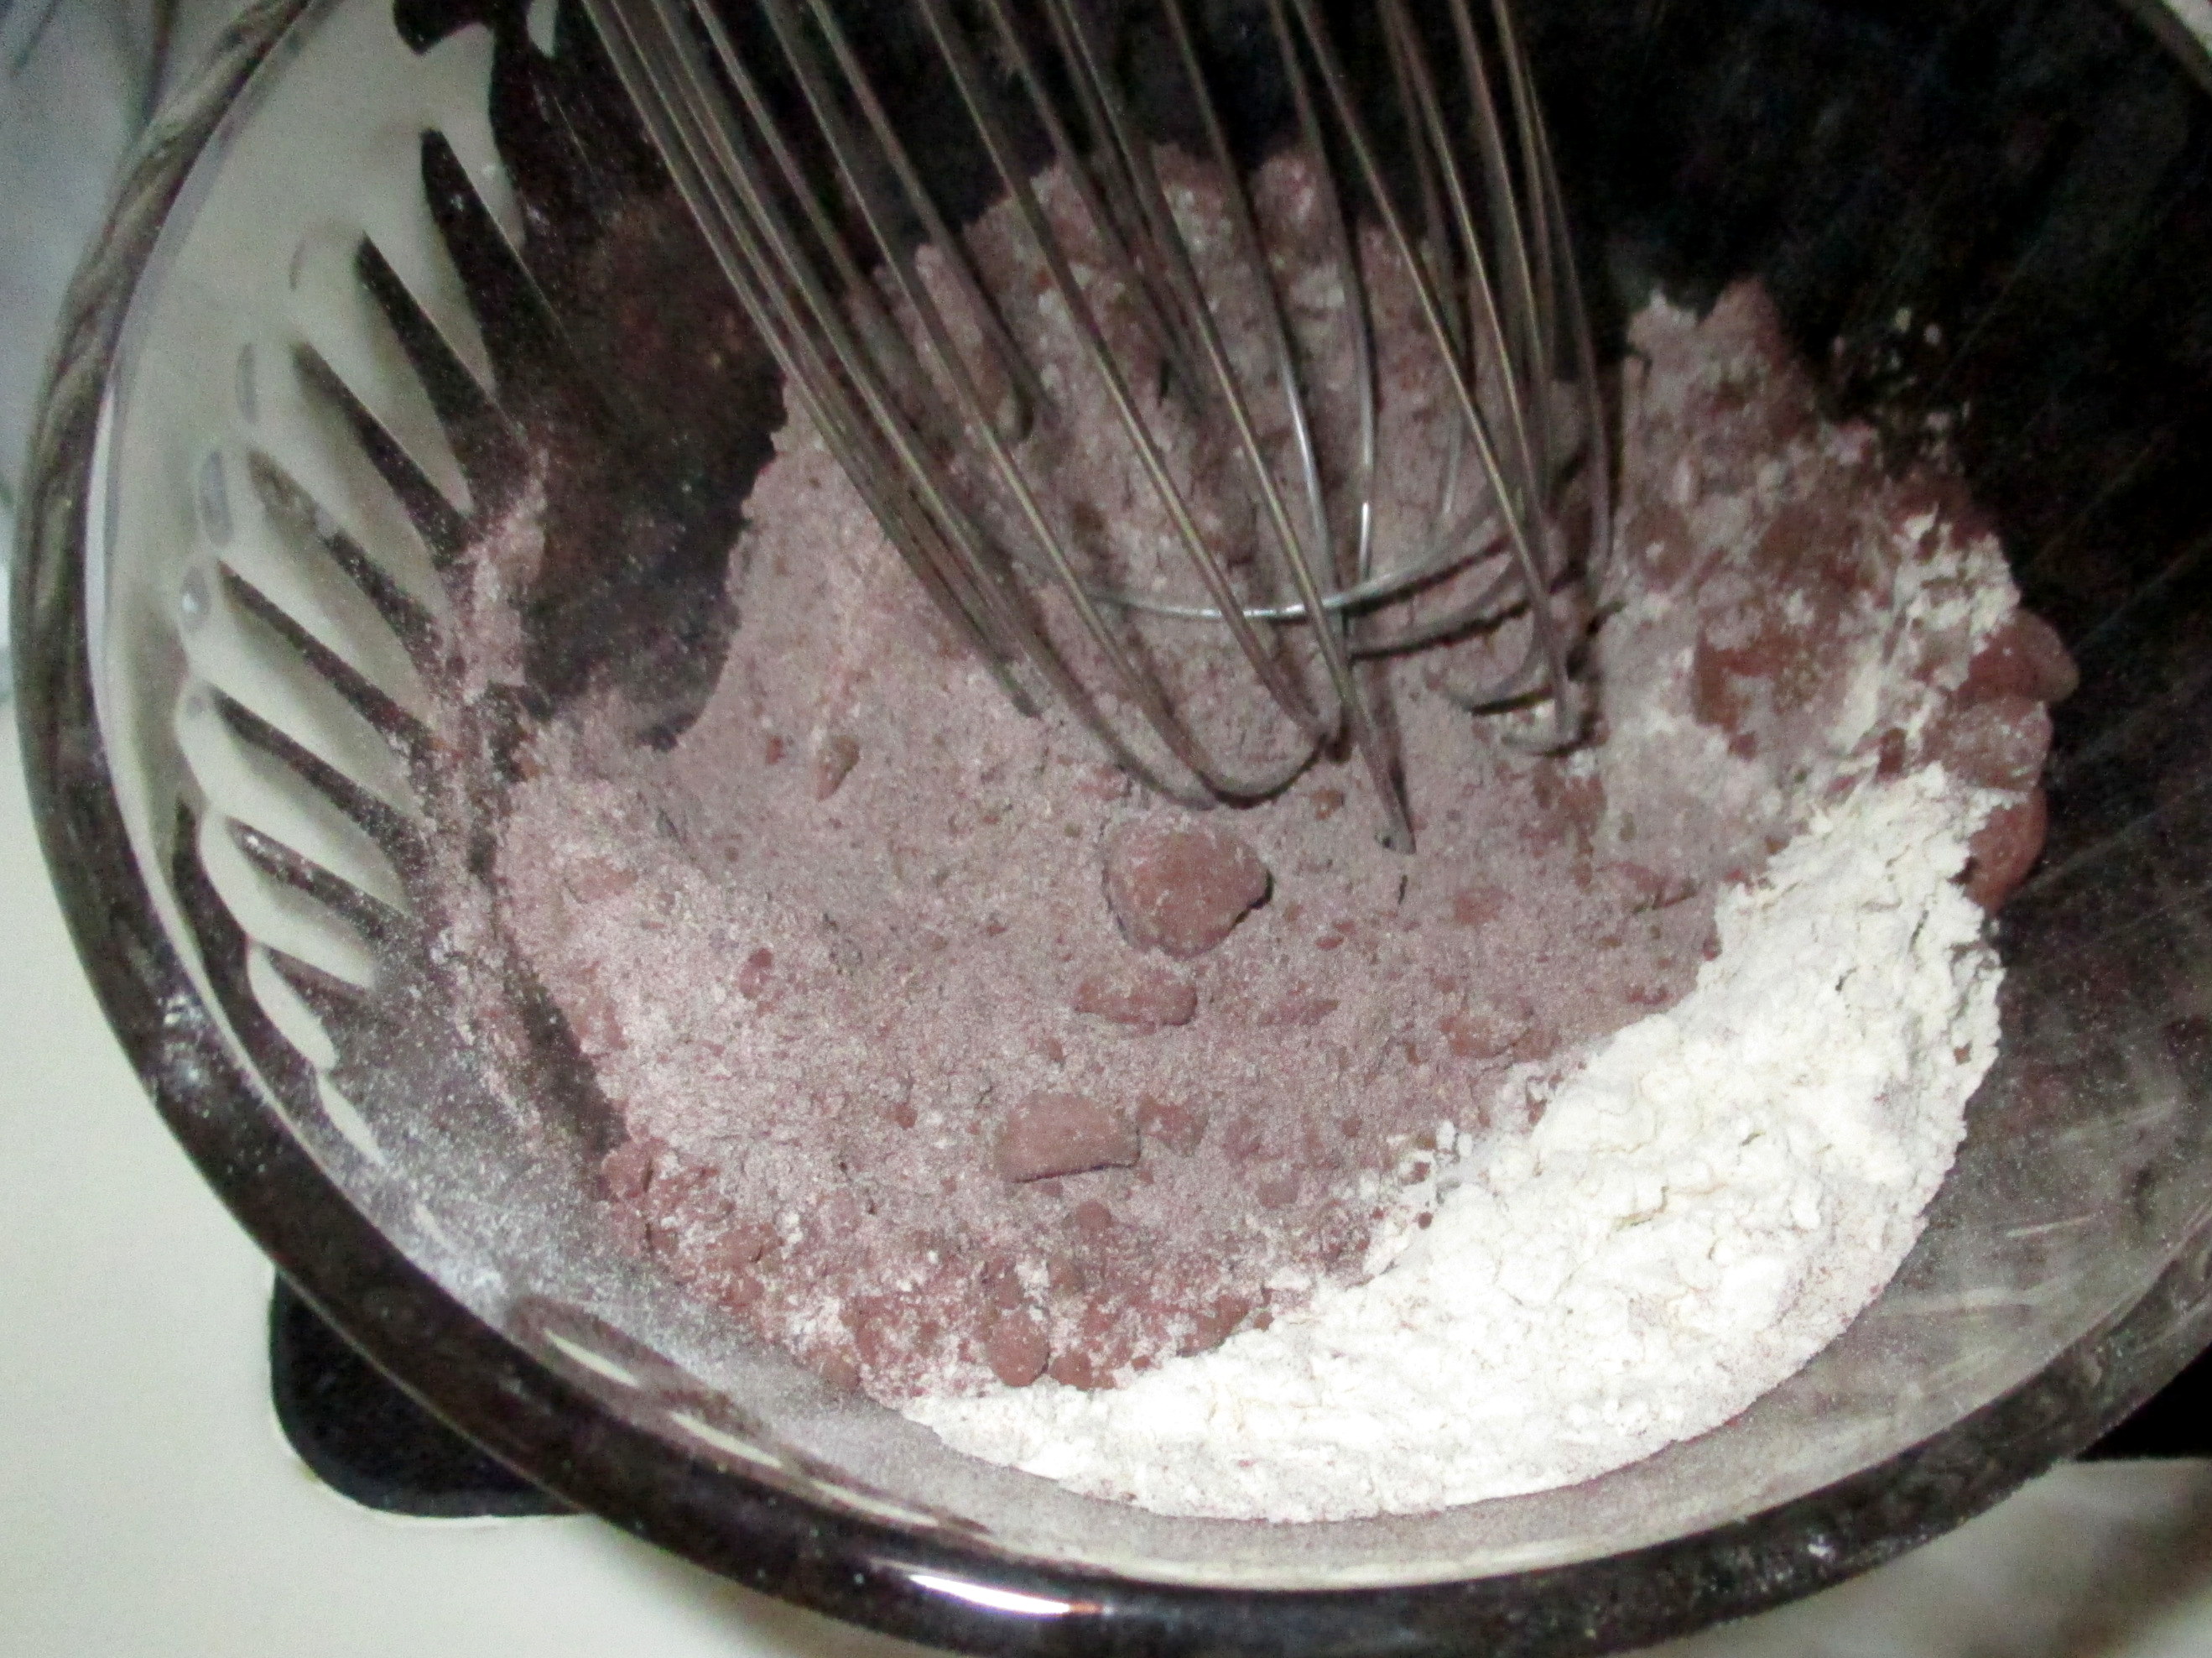
Sift the granulated sugar with the cocoa and salt into a large bowl. Smooth out any lumps in the brown sugar and then whisk it into the other dry ingredients. Whisk in the olive oil until batter is smooth. Add the coffee and eggs and beat until evenly incorporated. With a flexible rubber or silicone spatula fold in the cake meal until no streaks or clumps are visible. Stir in the chocolate chips and raisins.
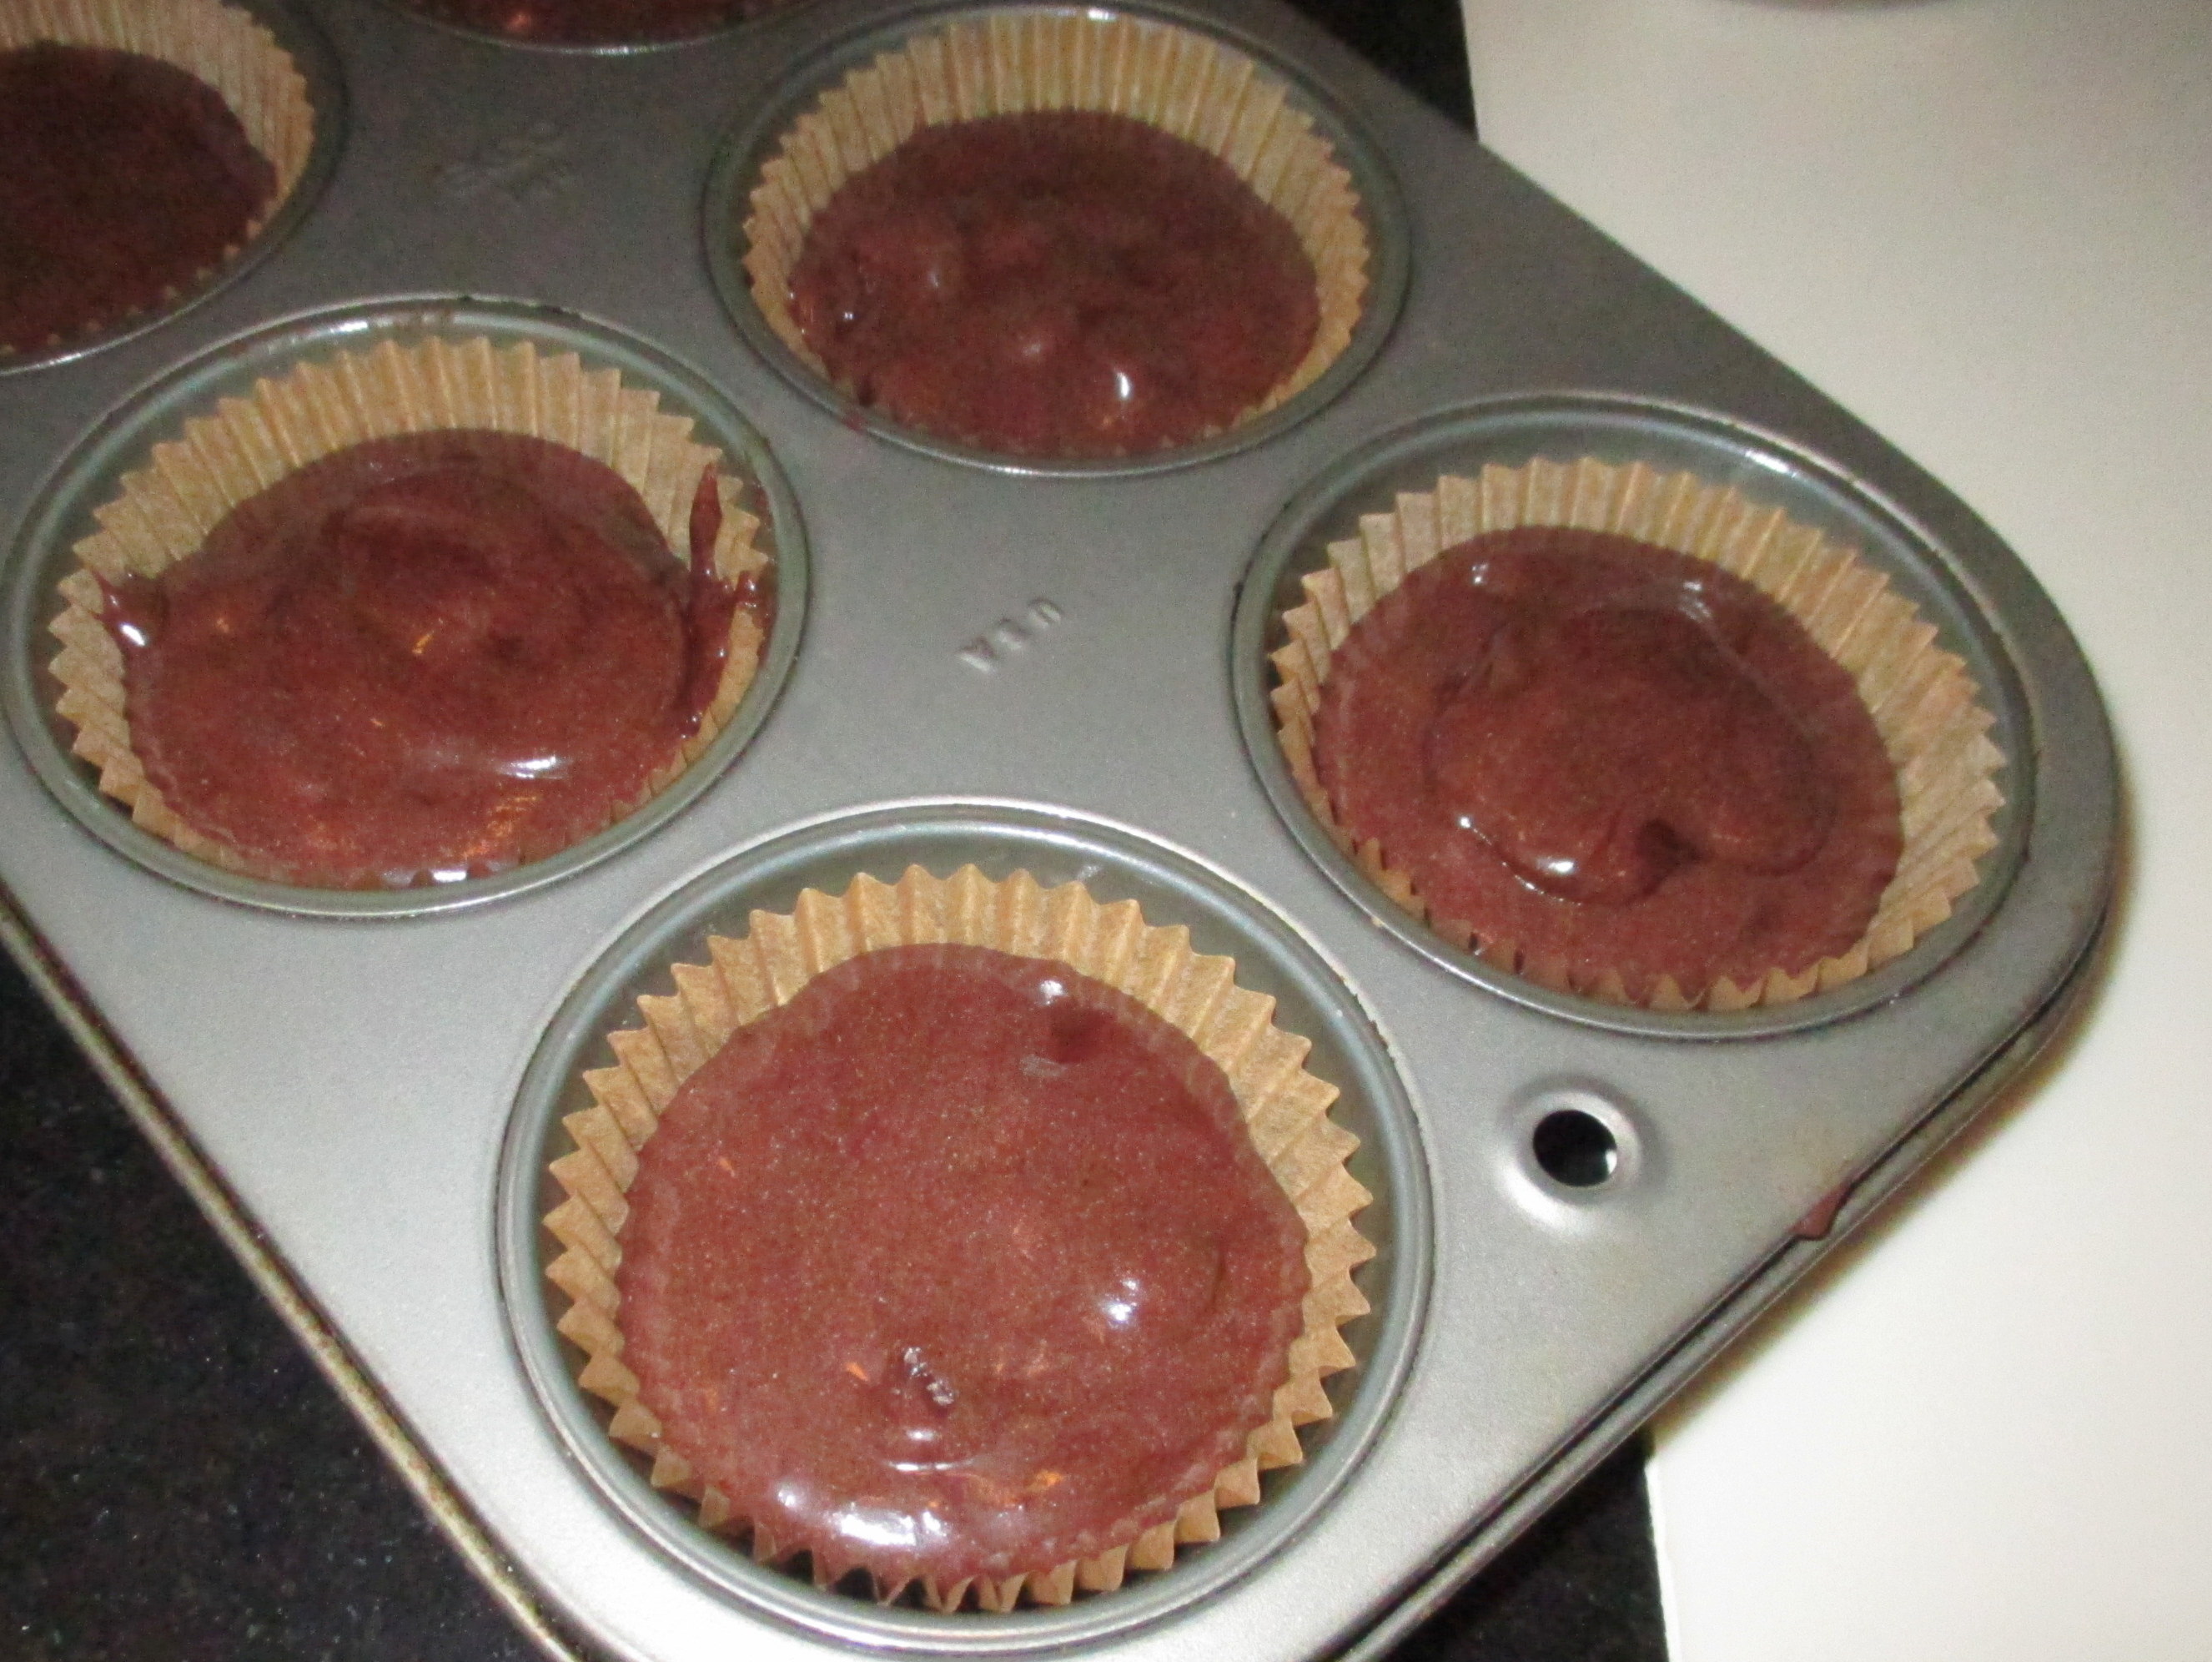
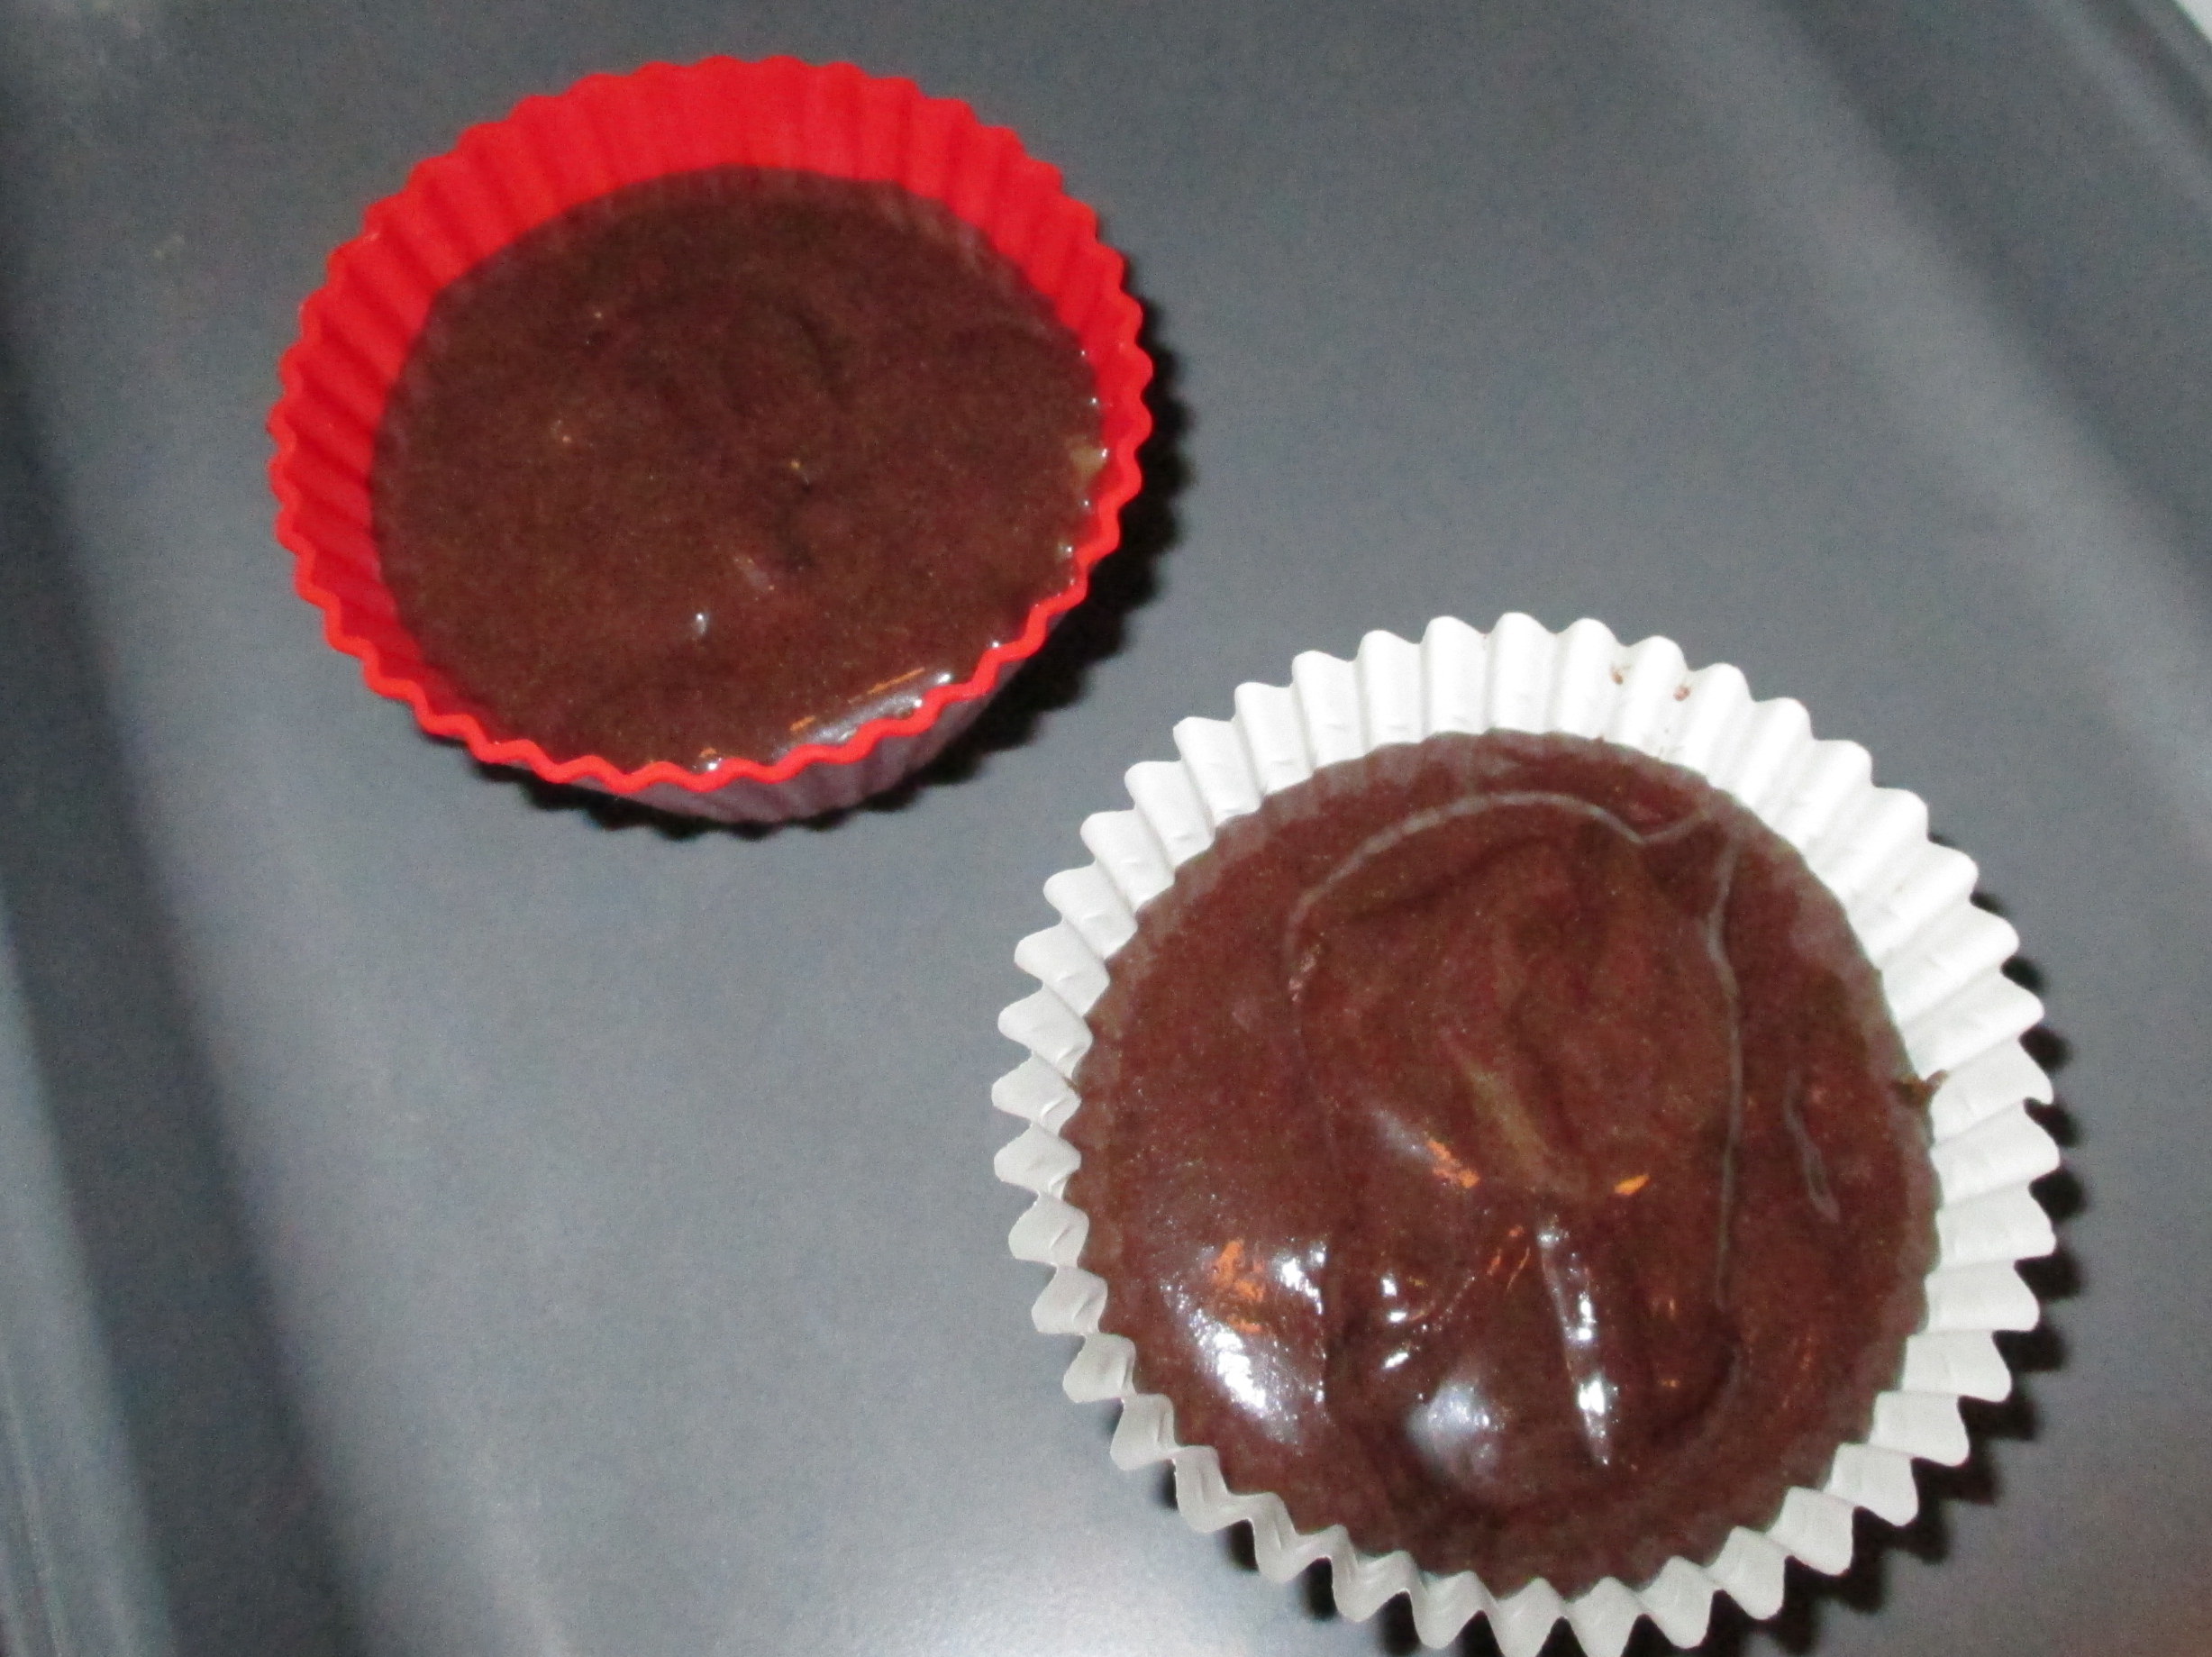
Scoop the batter into the prepared cups, filling them almost to the top. (A #24 scoop is ideal if you have one!) Bake for about 20 minutes. Do not over bake. The cupcakes should be set and seem dry to the touch, but the top should not feel very firm when pressed lightly. A toothpick tester should come out with a few moist crumbs attached.
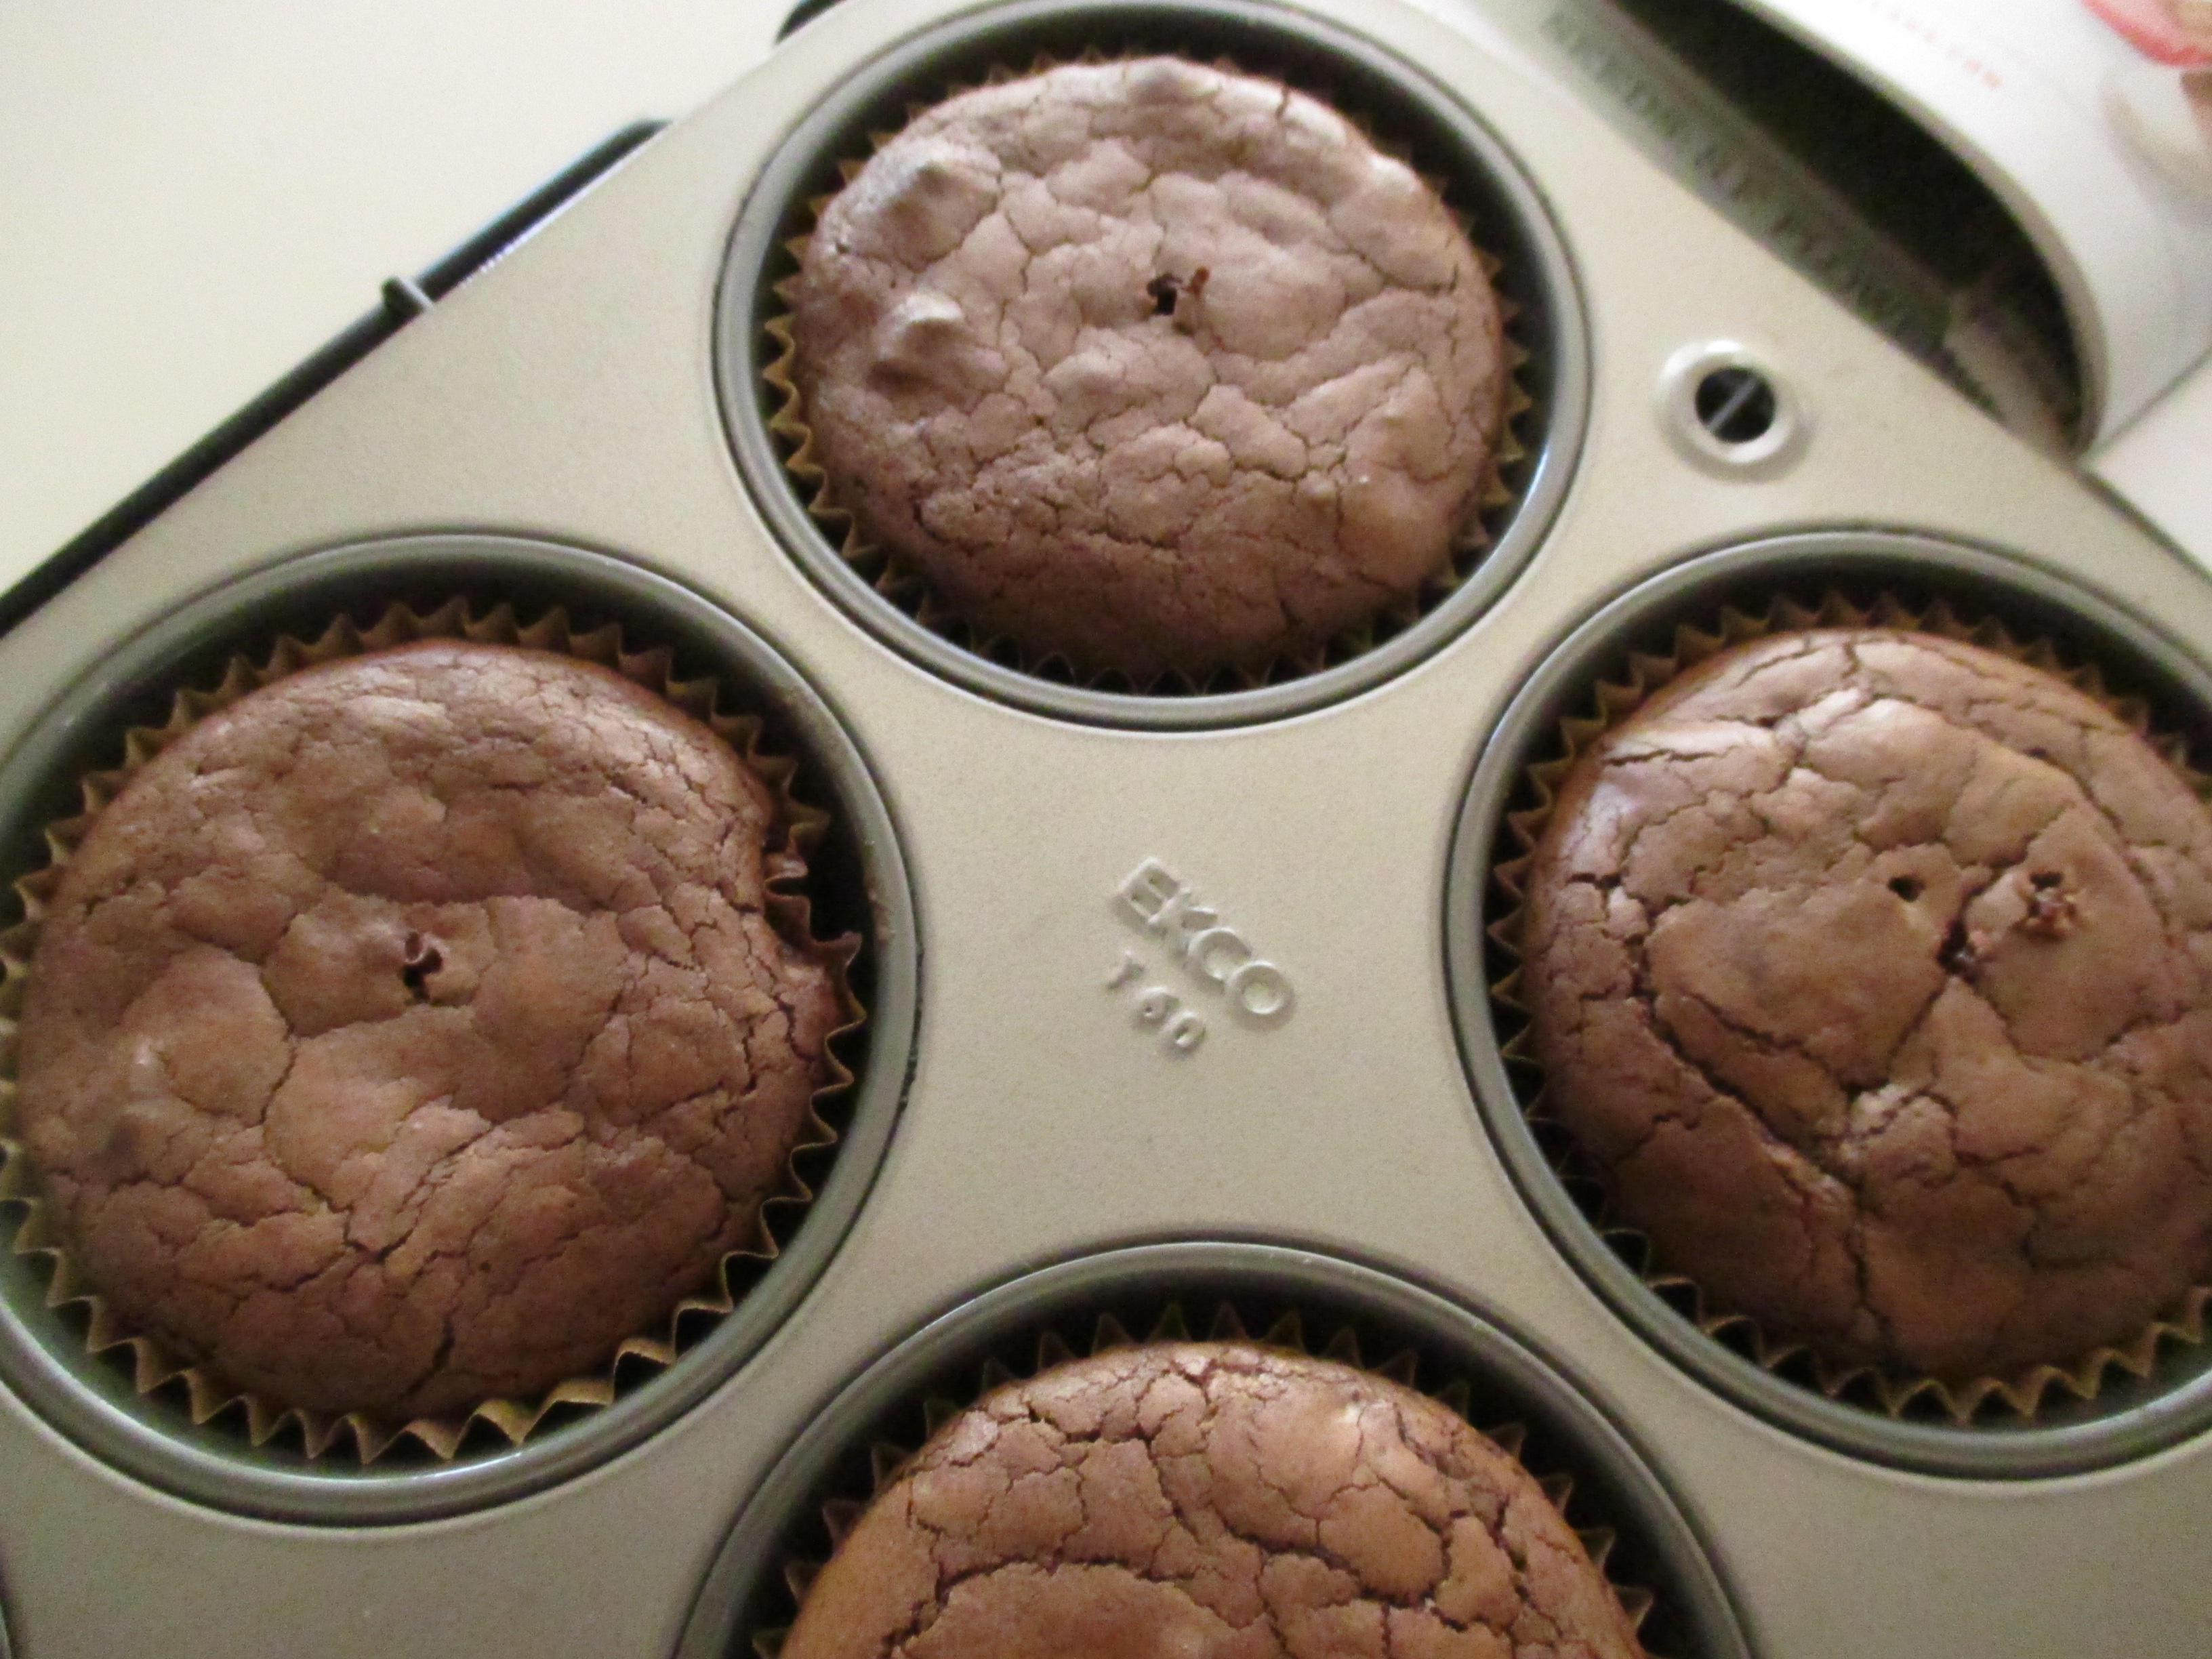
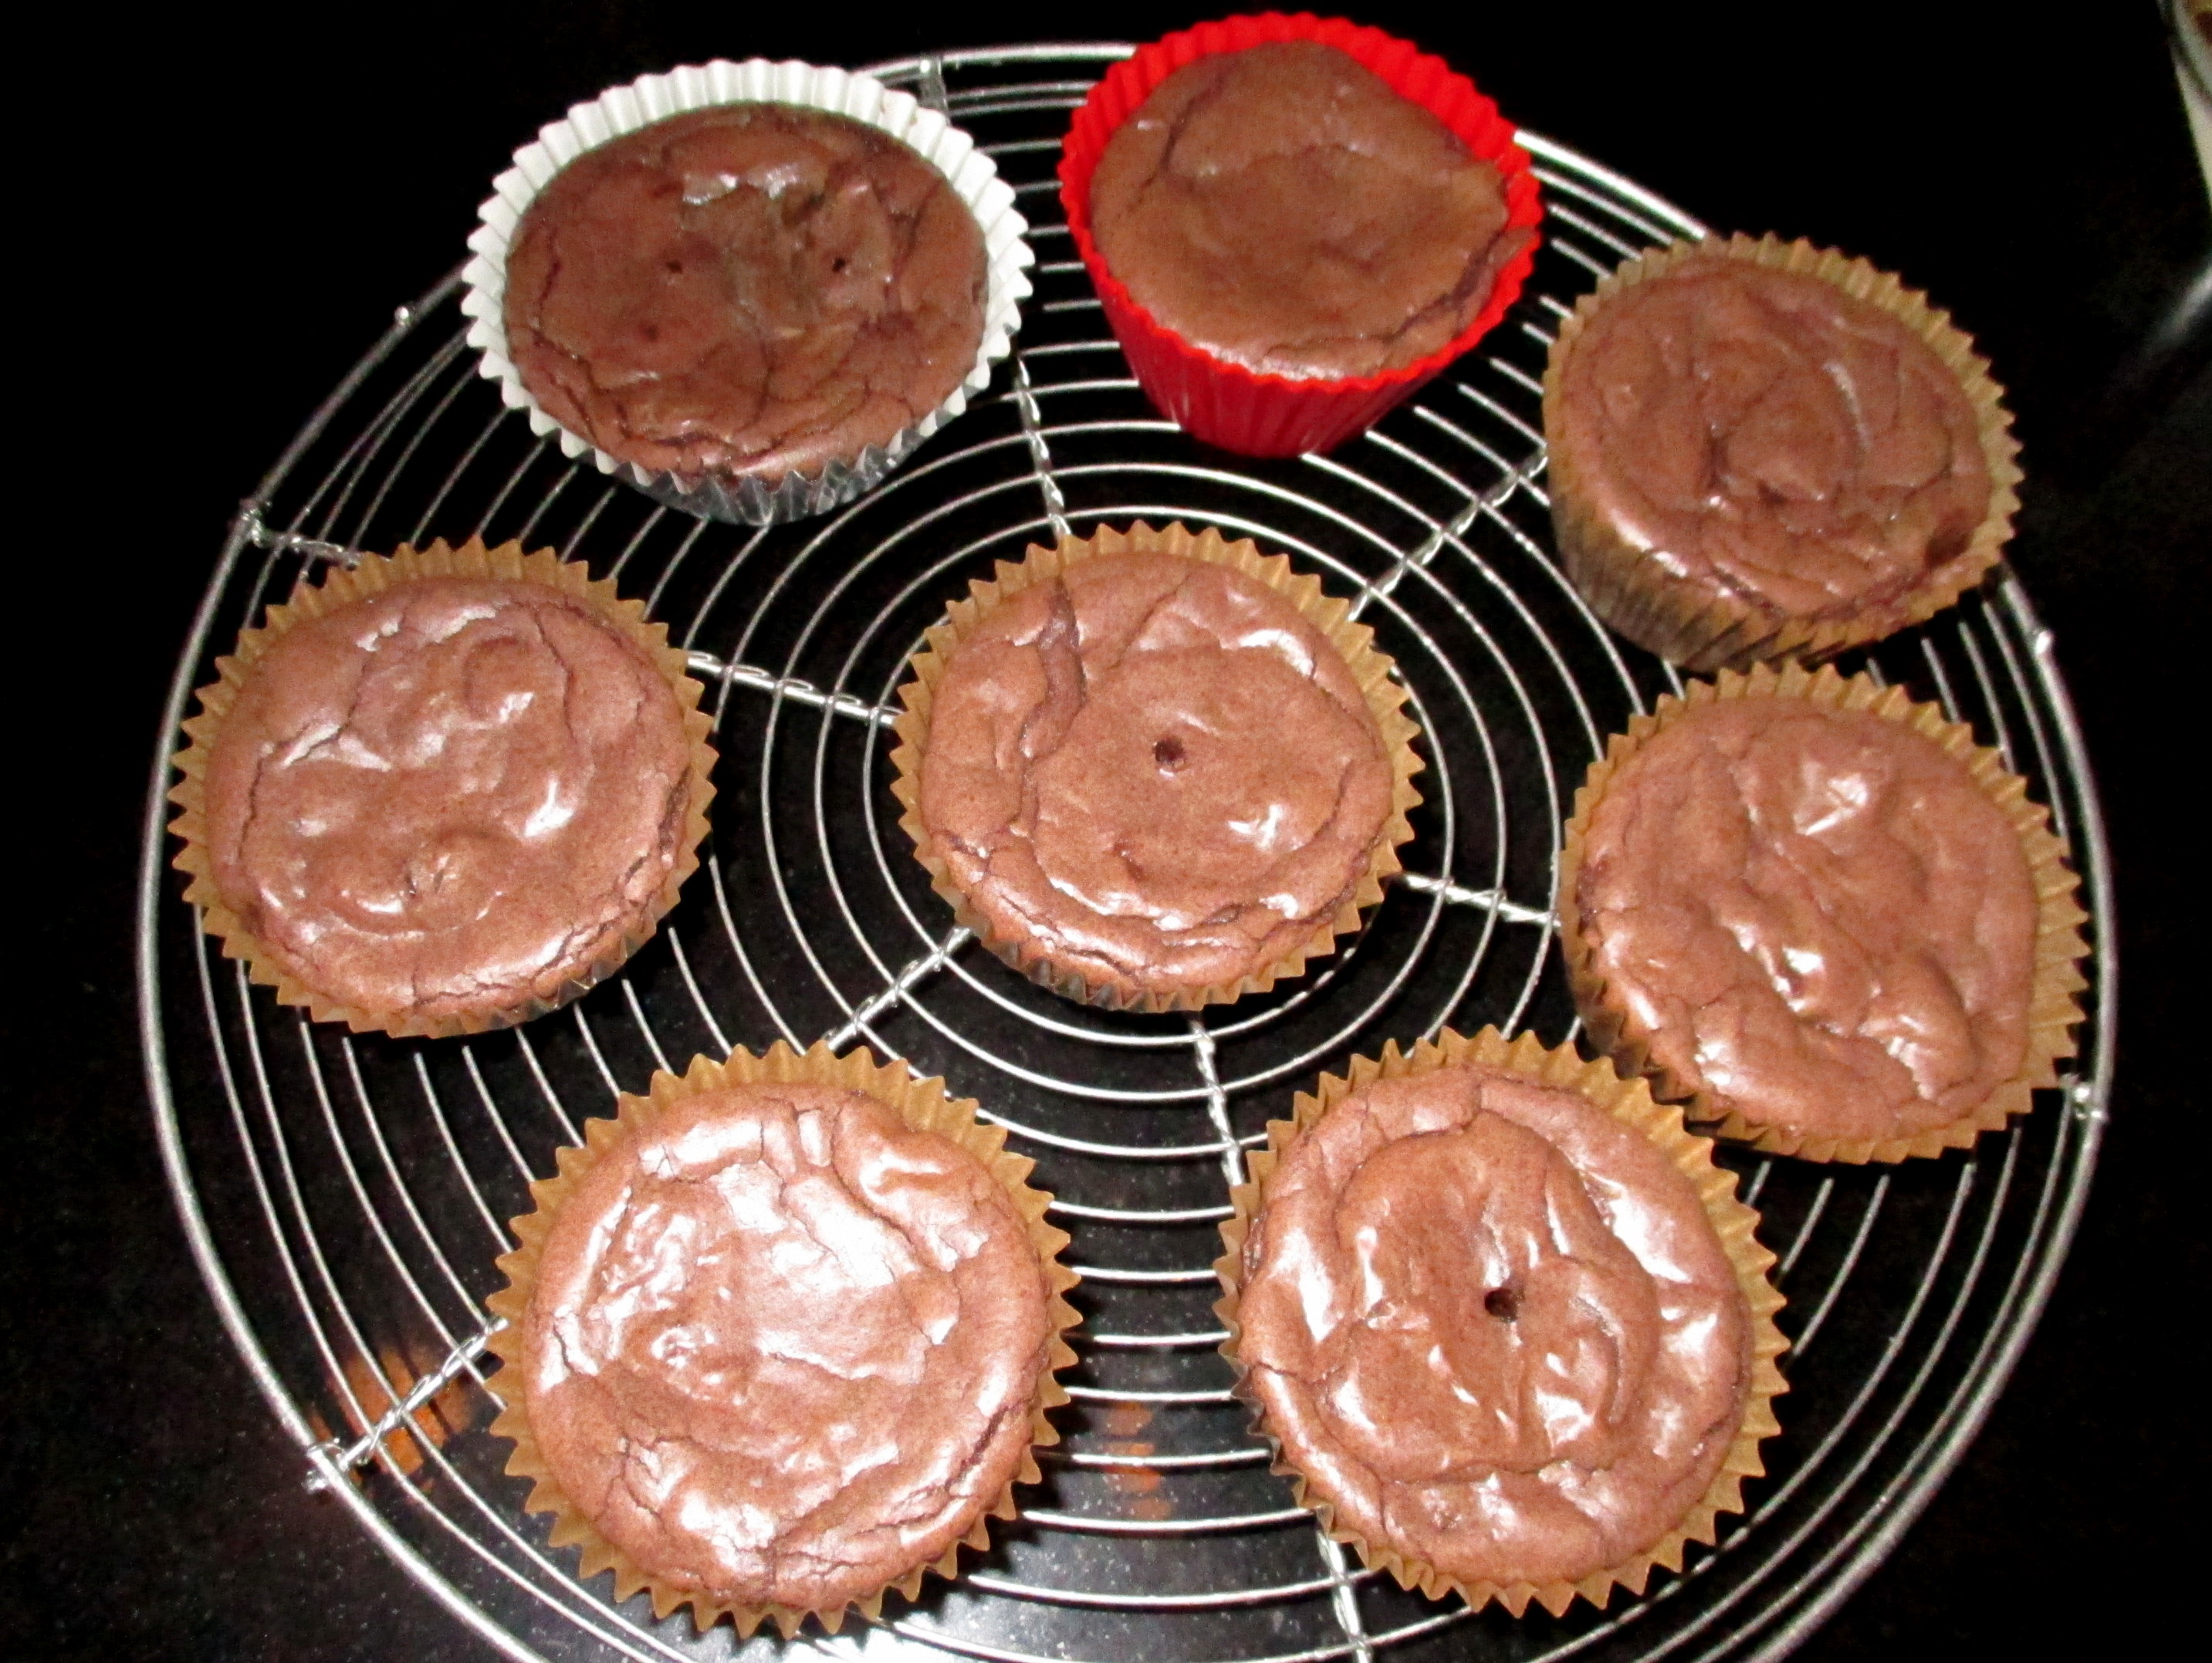
Cool in the pan on a rack for 10 minutes, and then remove to rack to cool. These will freeze well if you want to make them ahead. Serve as is or try one of the suggested fancier iterations.
SHINY CHOCOLATE SAUCE OR FROSTING
This recipe is from THE KOSHER BAKER by Paula Shoyer, who includes dairy-free (parve) recipes in her writing and cooking classes. You can read about Paula here.
When I tried this recipe as a sauce for my Decadent Seder Cupcakes, I serendipitously discovered that when it is refrigerated, the sauce firms up and becomes a spreadable frosting! Heating it restores its fluidity and it can be drizzled or poured over a dessert for a glaze or decorative element on the plate. (If you are not making a kosher dessert, disregard the non-dairy requirement for the chocolate.)
The recipe makes at least 1 1/3 C of fluid chocolate sauce (and about the same amount of spreadable frosting if you chill it). It makes more if you add a large portion of the syrup to the melted chocolate. There will definitely be sufficient frosting or sauce for one recipe of the cupcakes.
1 C water
1 1/3 C sugar
6 oz non-dairy bittersweet or semisweet chocolate
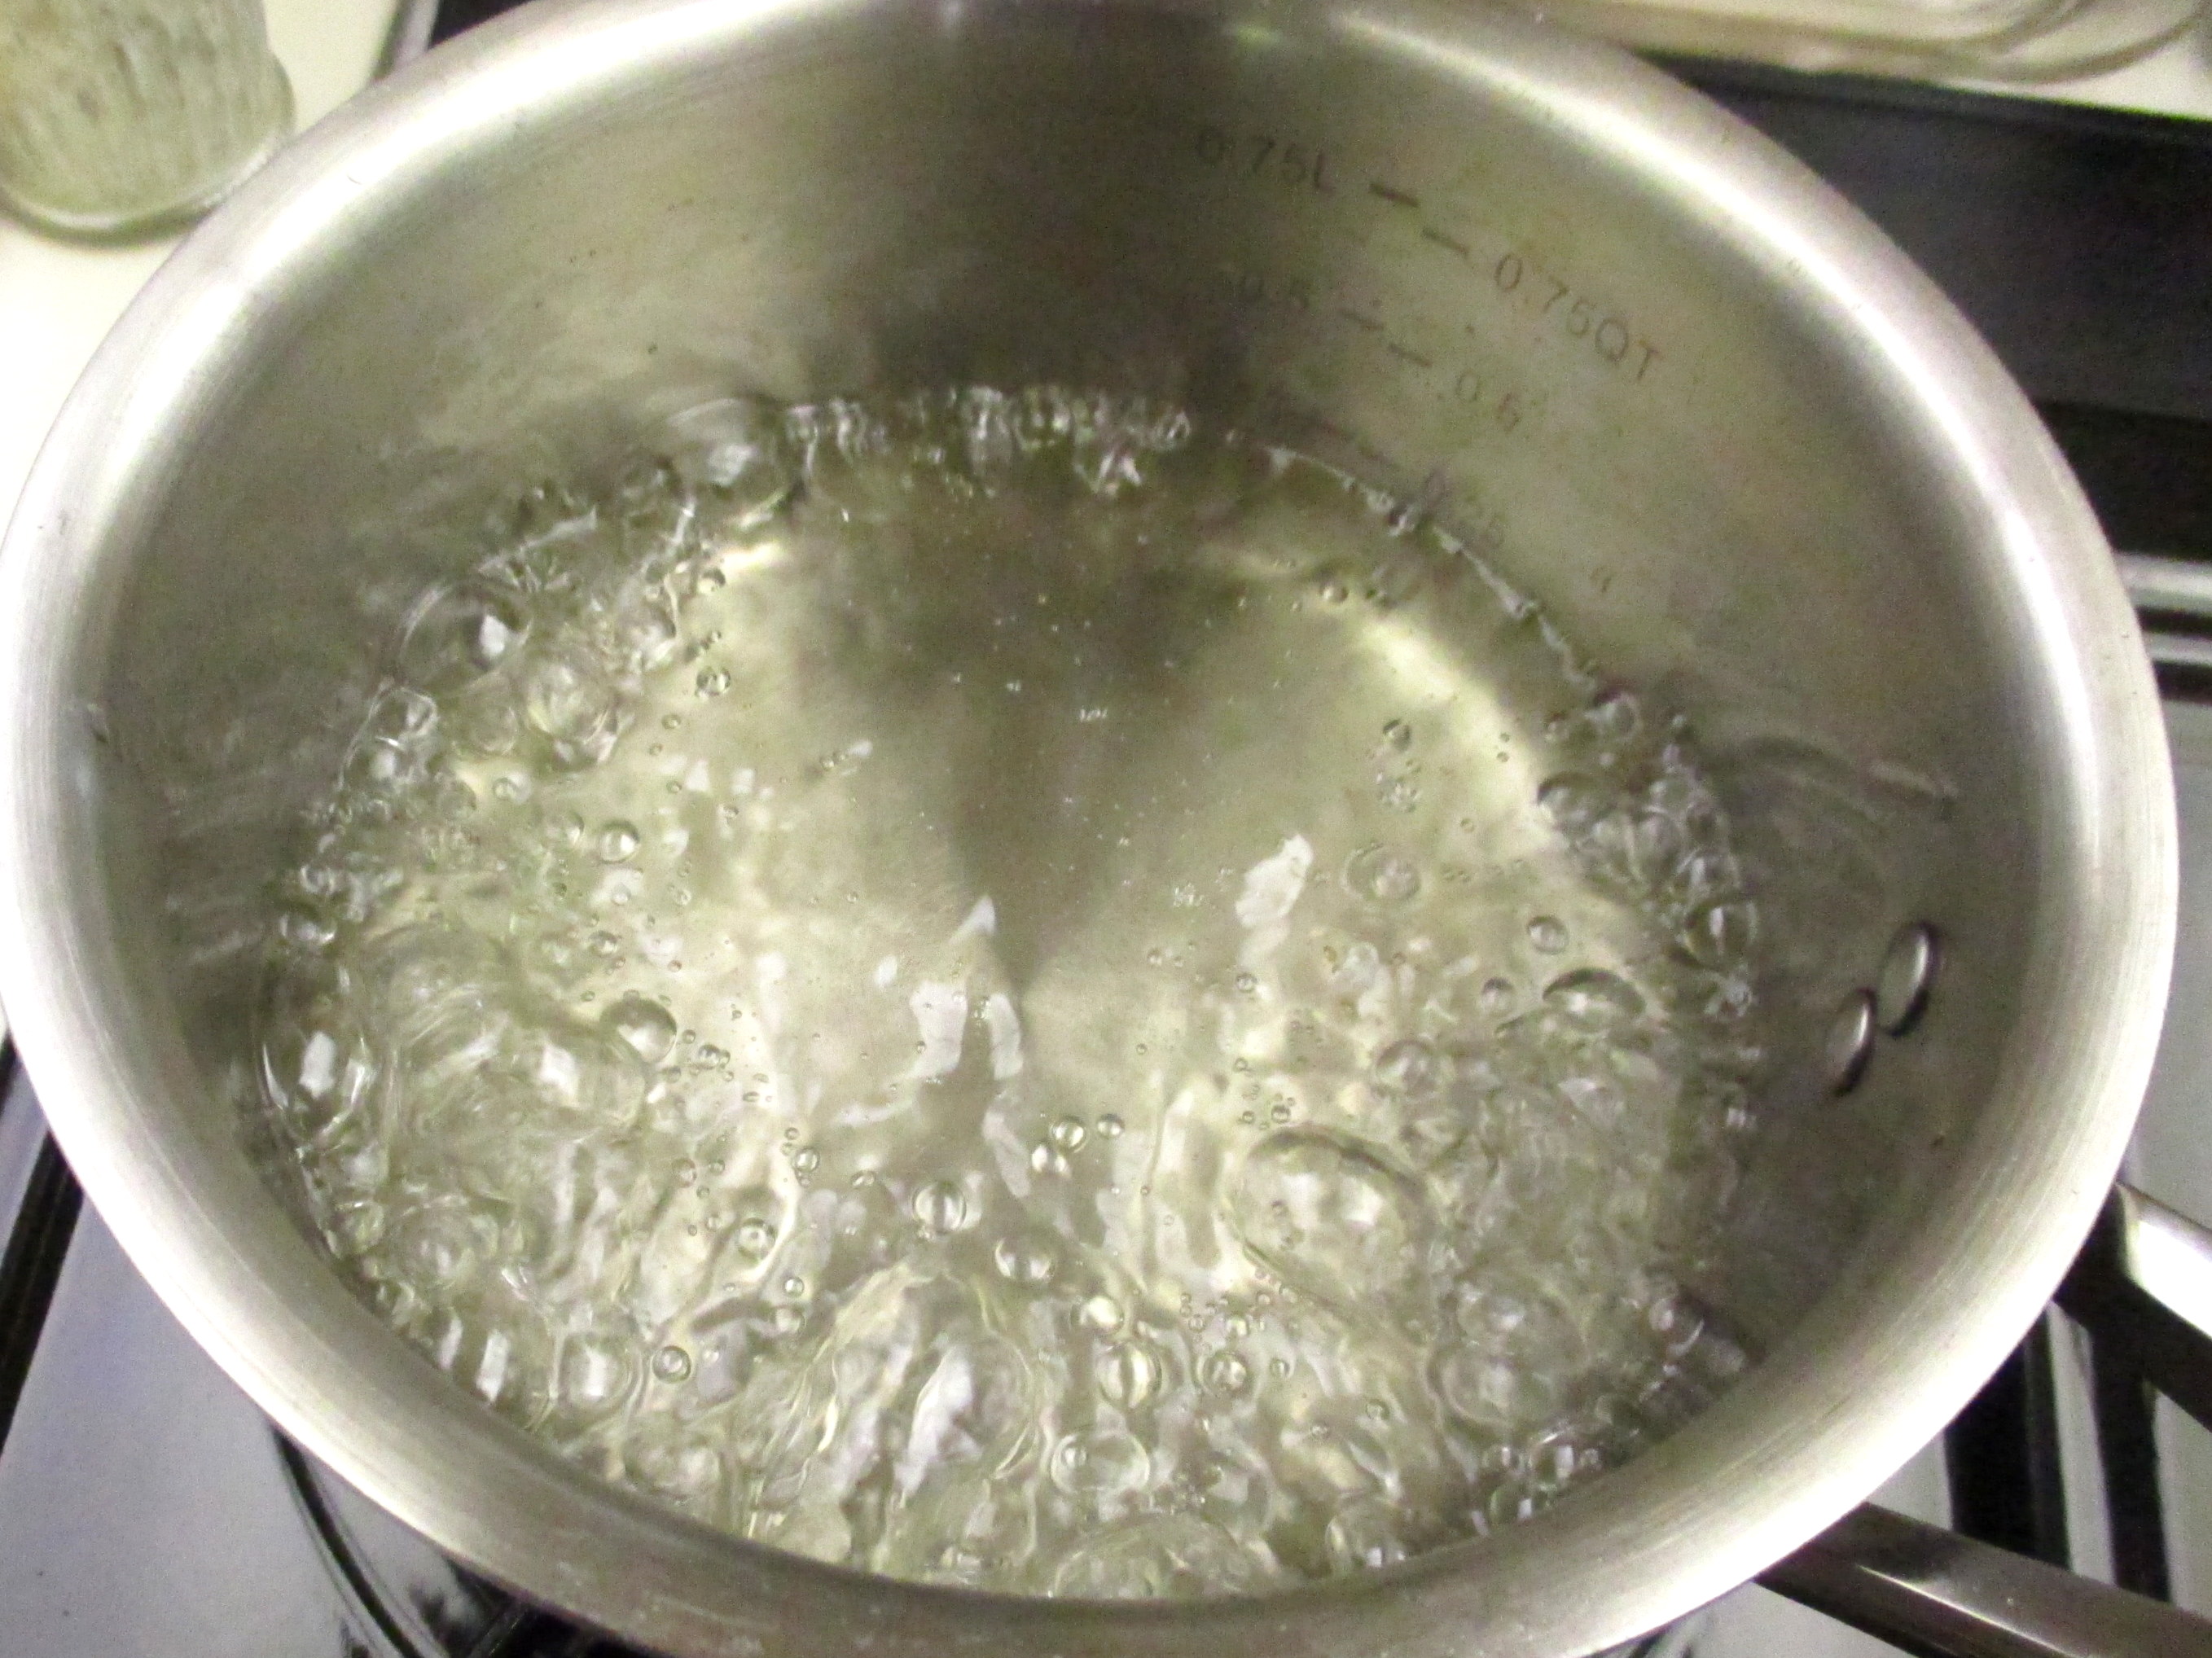
First prepare the sugar syrup: In a small saucepan over medium heat bring the sugar and water to a rolling boil, stirring to dissolve the sugar. Remove from the heat. If you want to do this up to three days ahead, cool the syrup, transfer to a covered jar and store at room temperature.
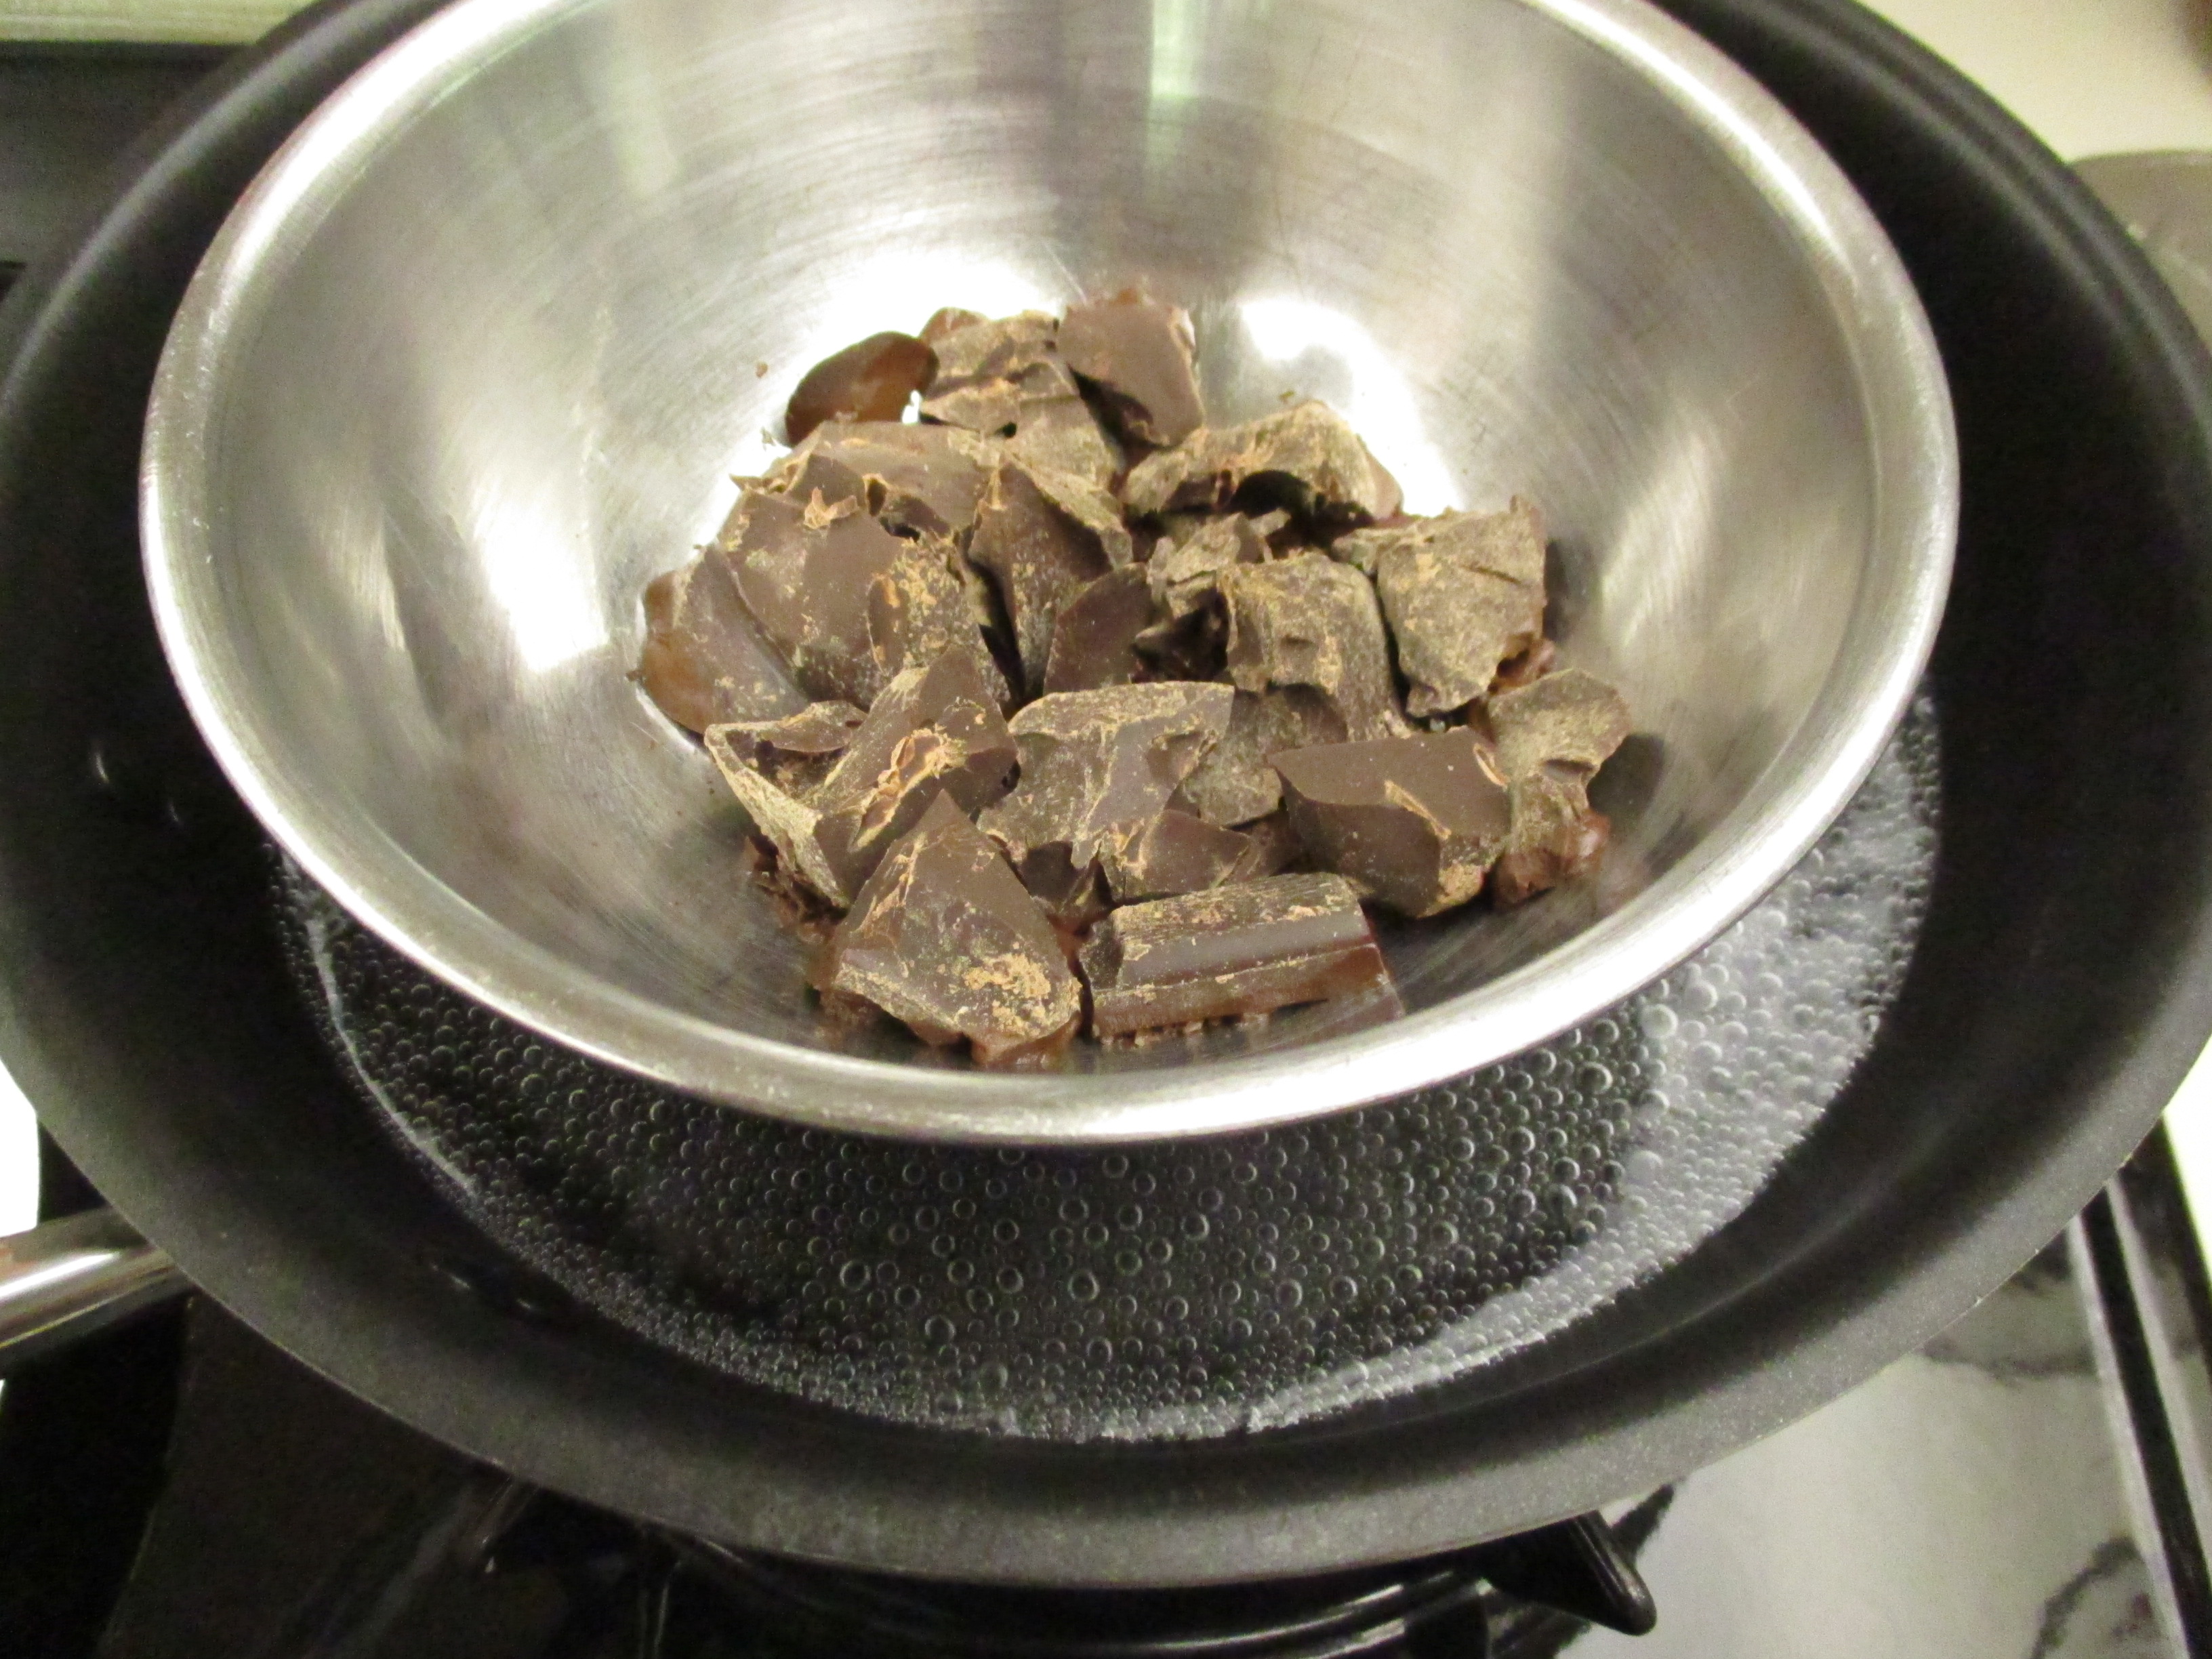
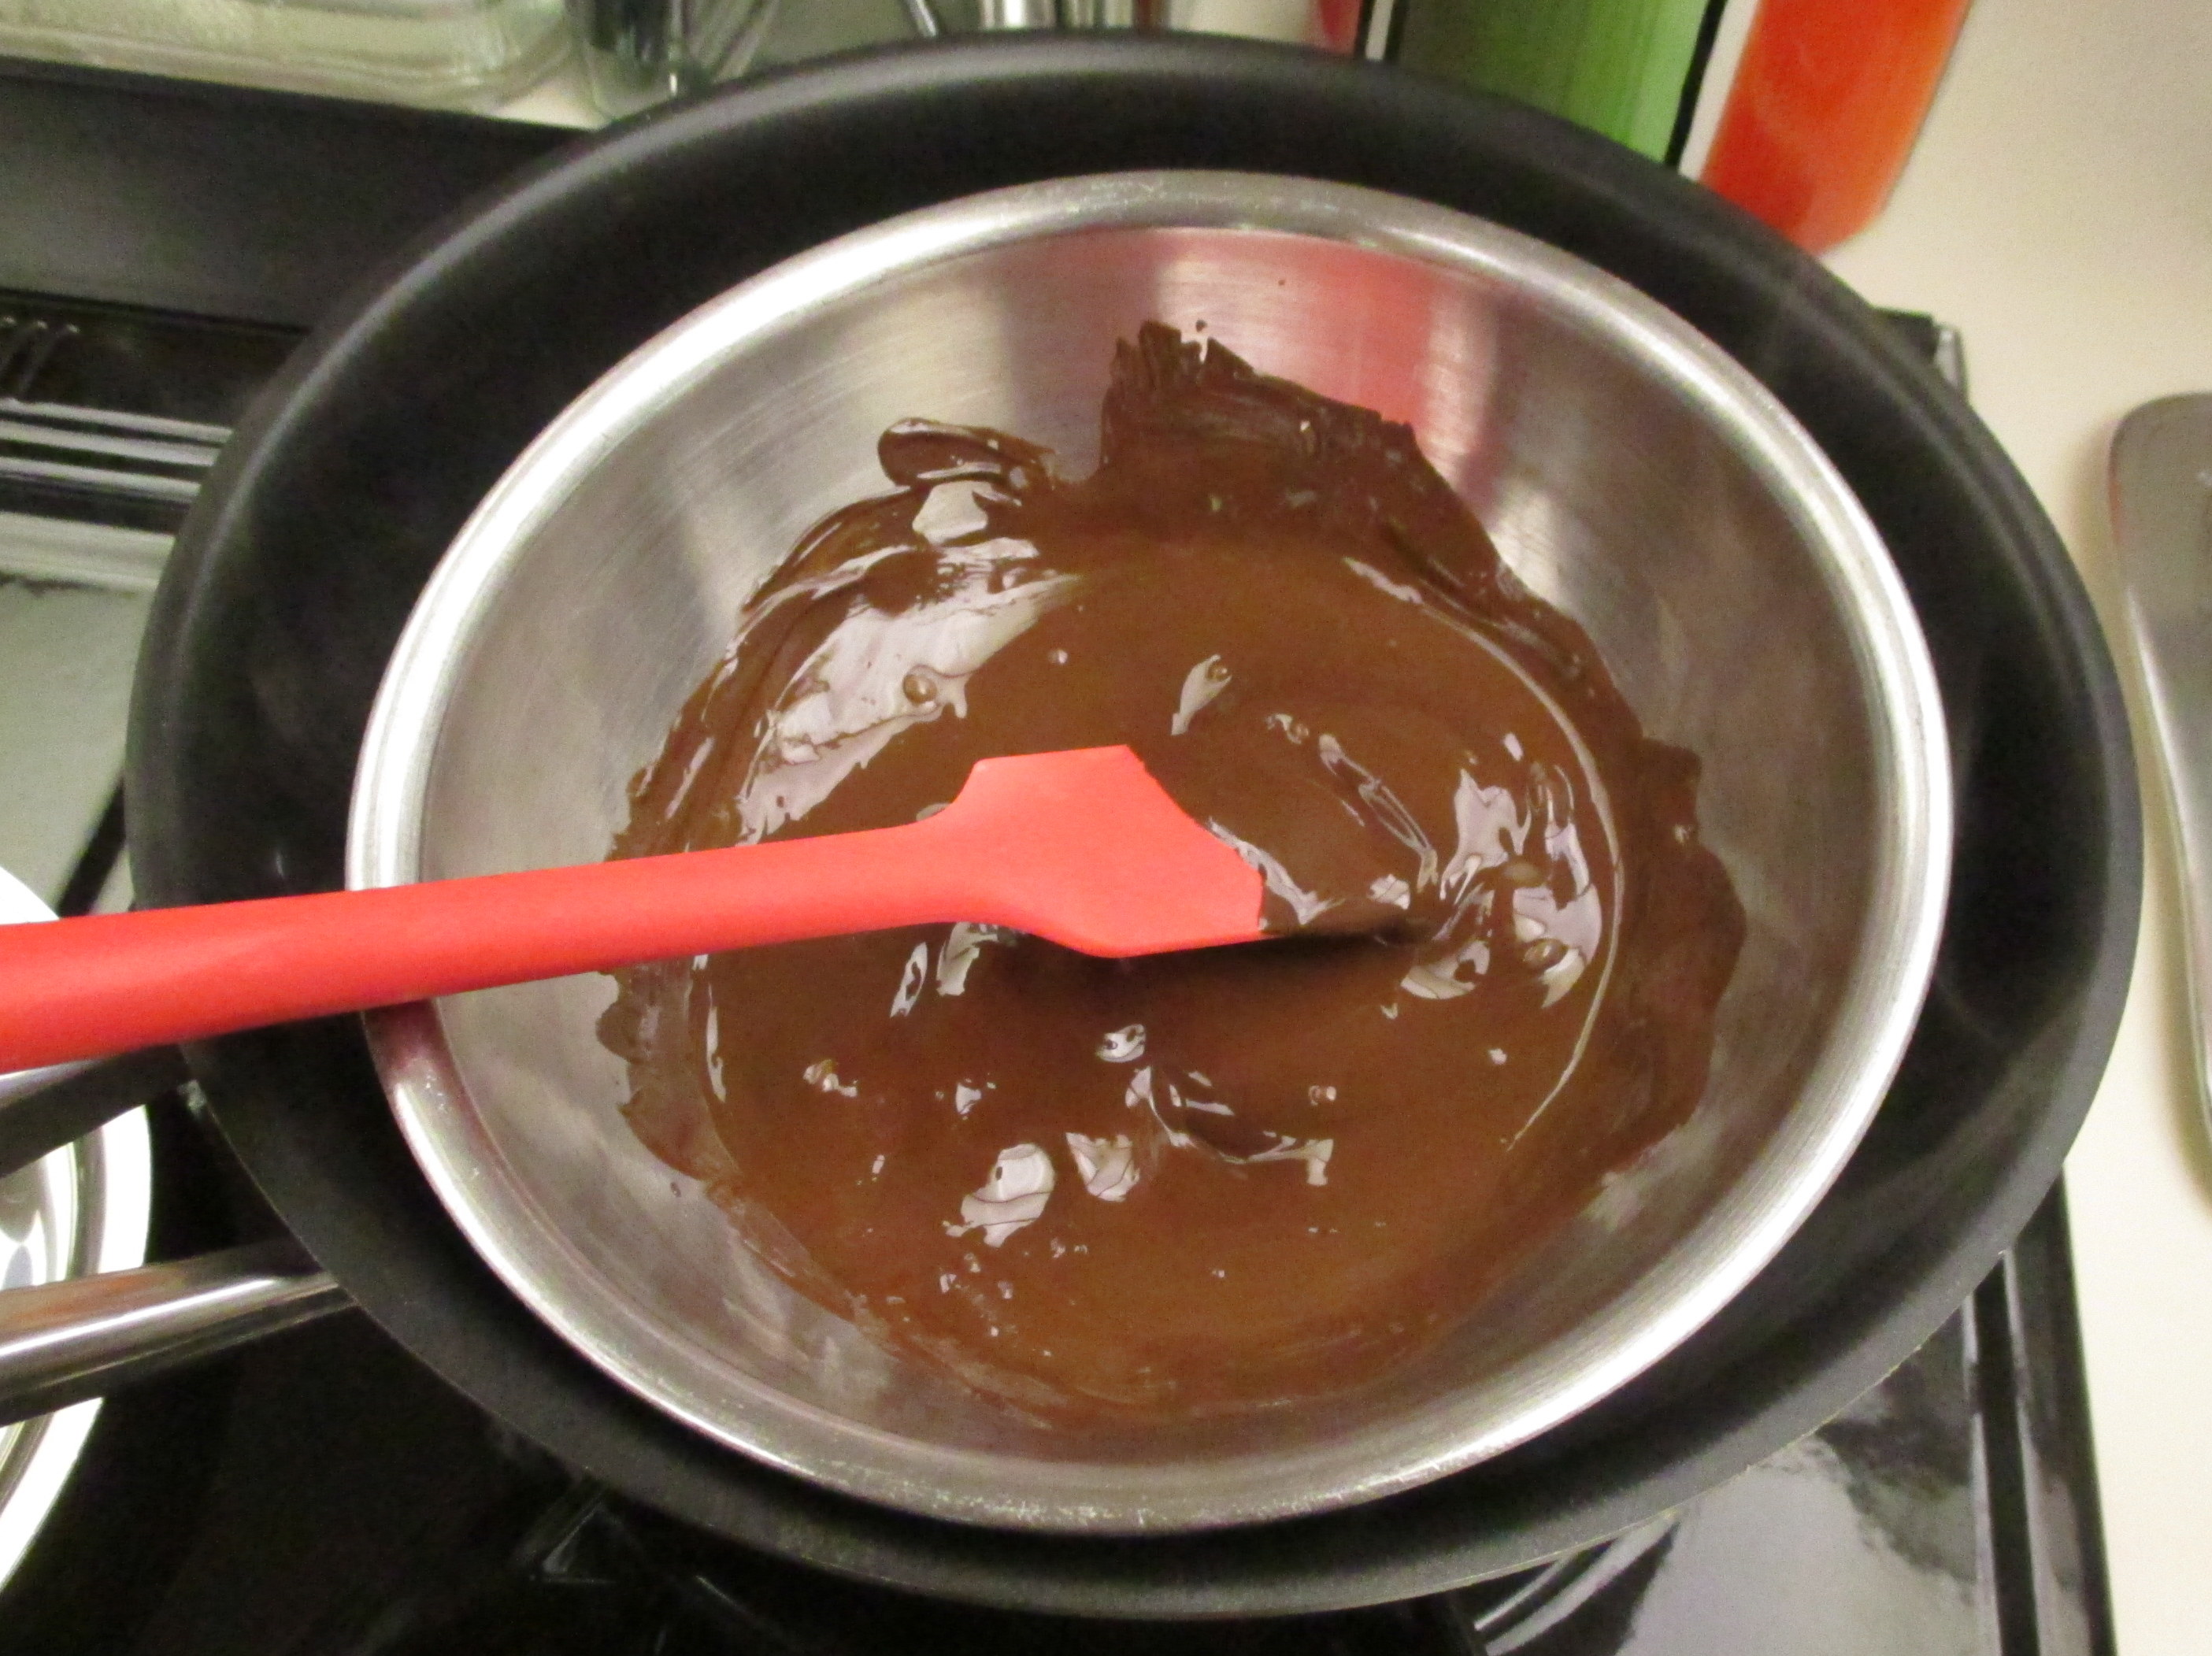
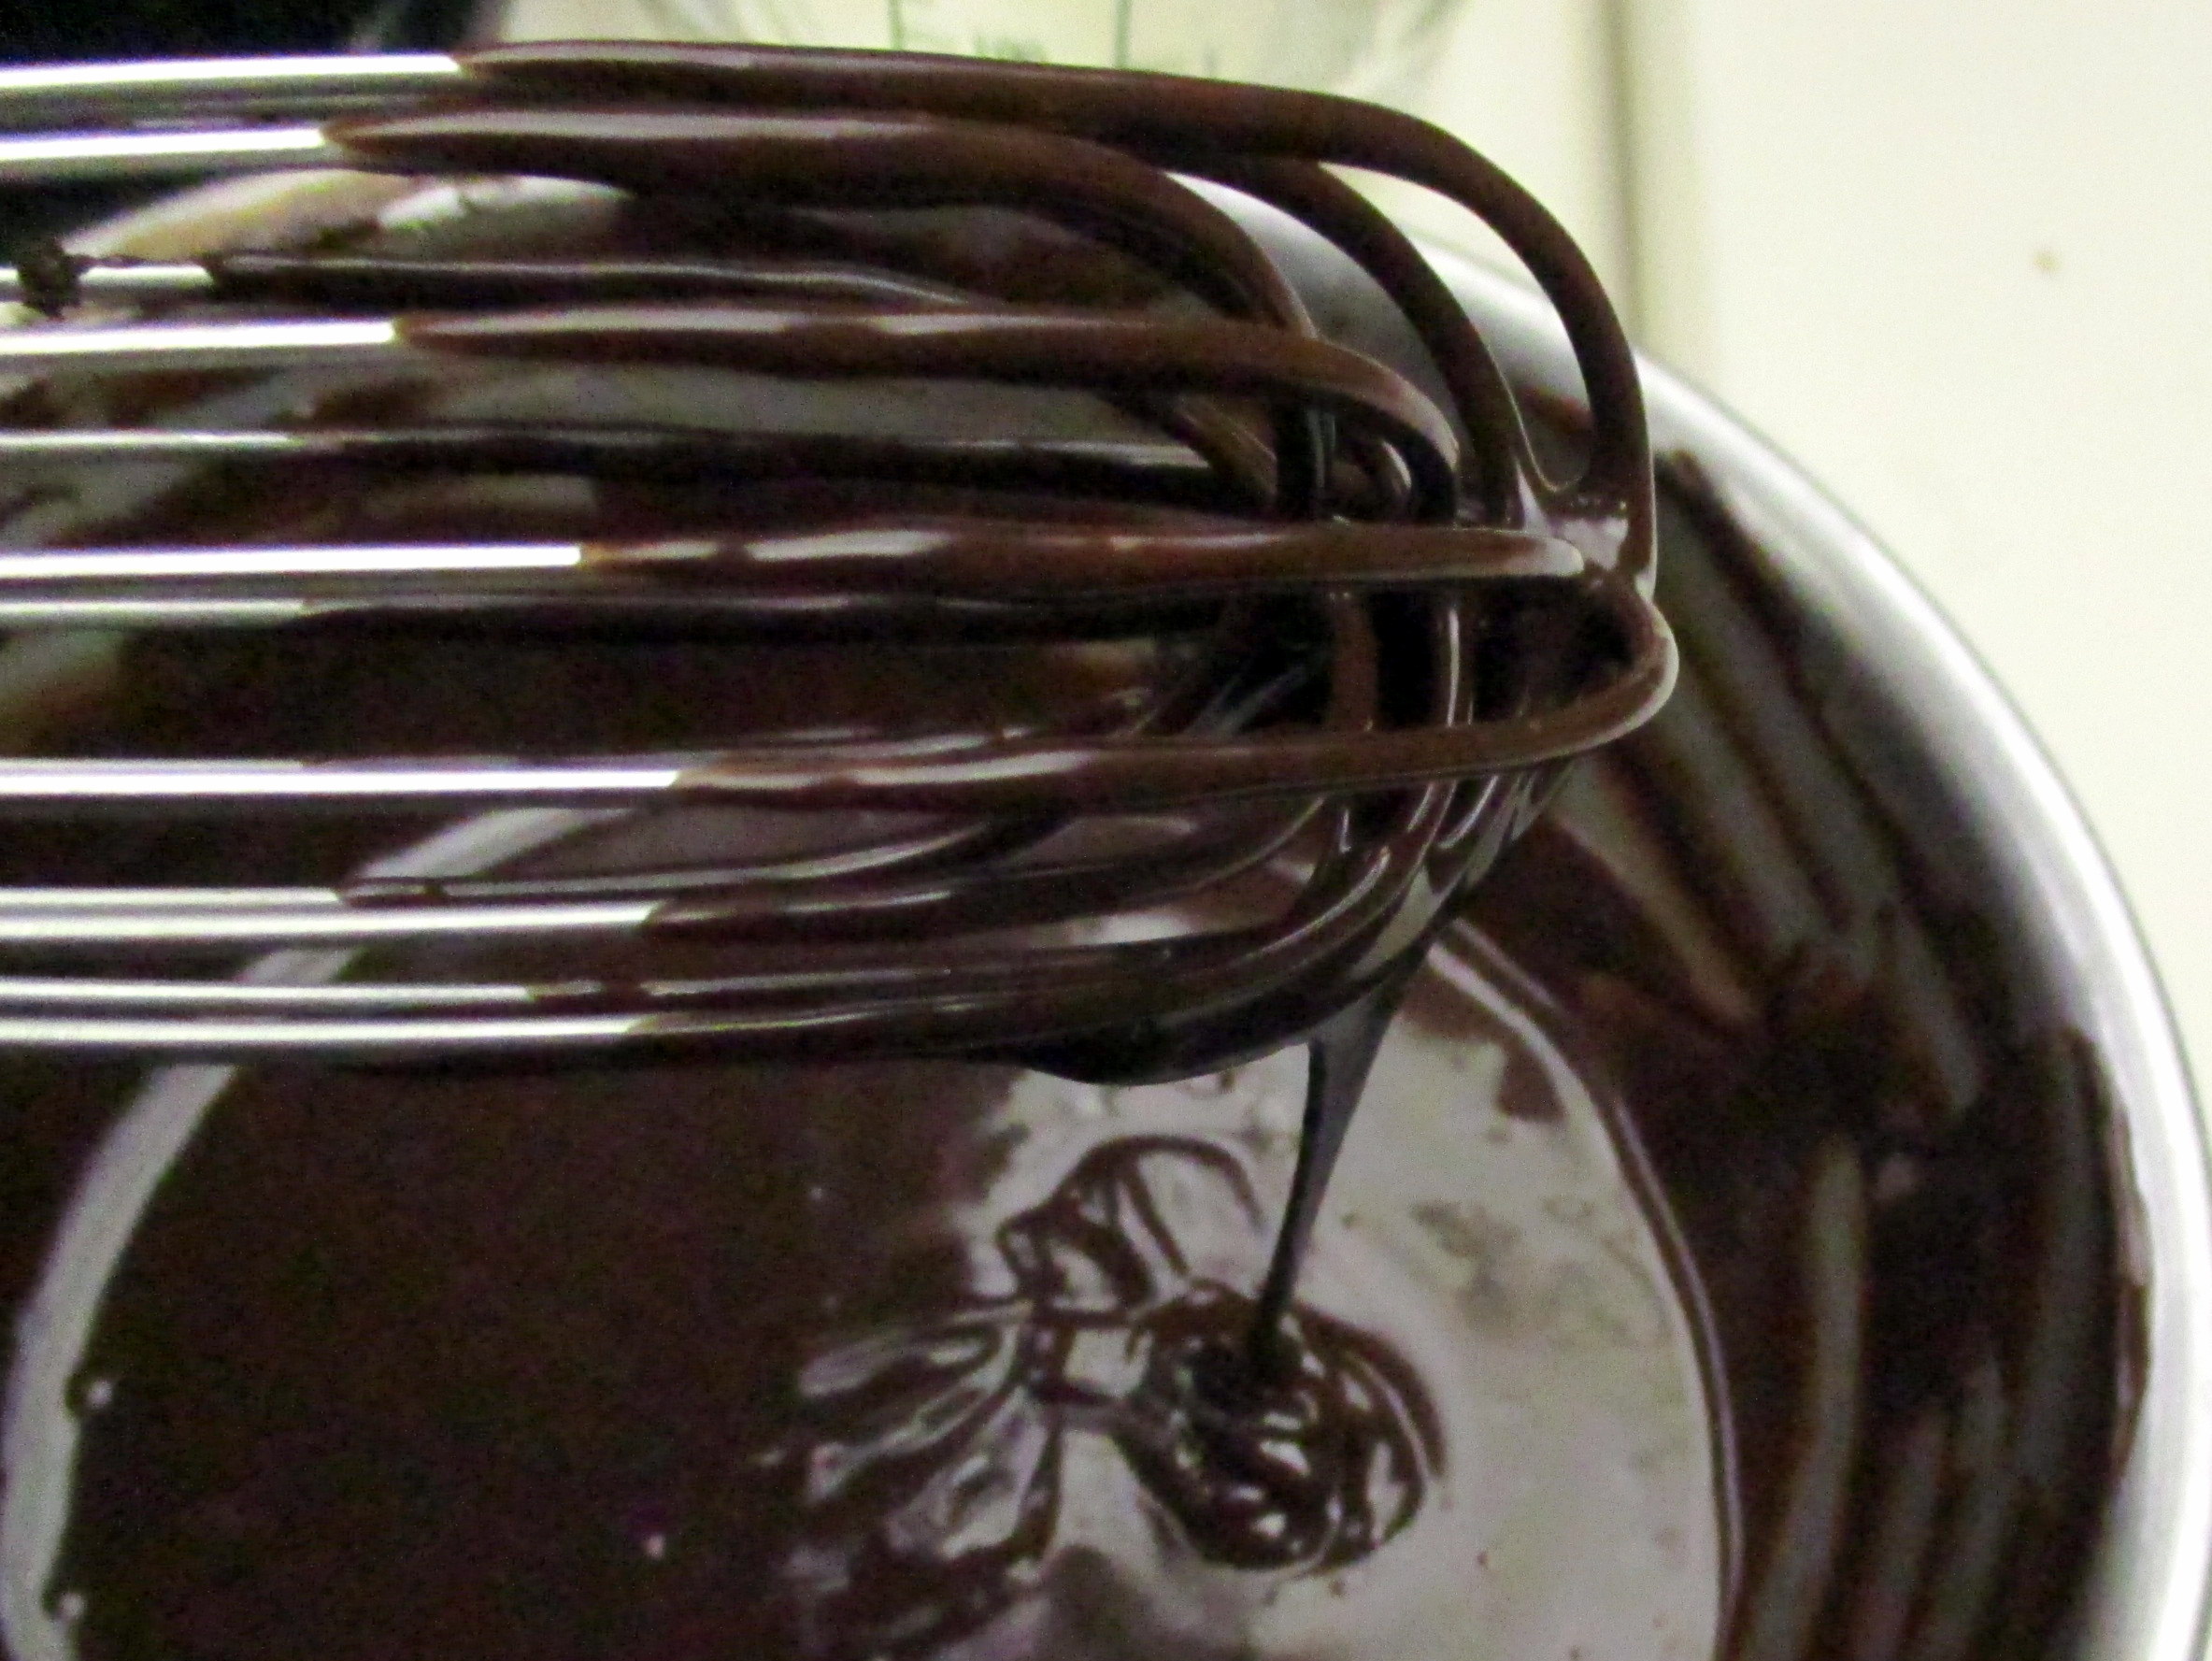
While syrup is cooling (or up to three days later) melt the chocolate in a bowl set in a skillet of simmering water. (This is the simple and very easy method advocated by chocolate expert Alice Medrich.) Stir occasionally until all is melted and smooth. Remove the bowl from the hot water. Gradually whisk in sugar syrup until you have a desirable consistency to use for your sauce or glaze. At first it may seem that your sauce won’t be smooth. Just keep whisking and you will achieve success! Use the sauce immediately or store at room temperature in a covered jar. Save the leftover sugar syrup; you may need it to thin out the sauce/glaze later.
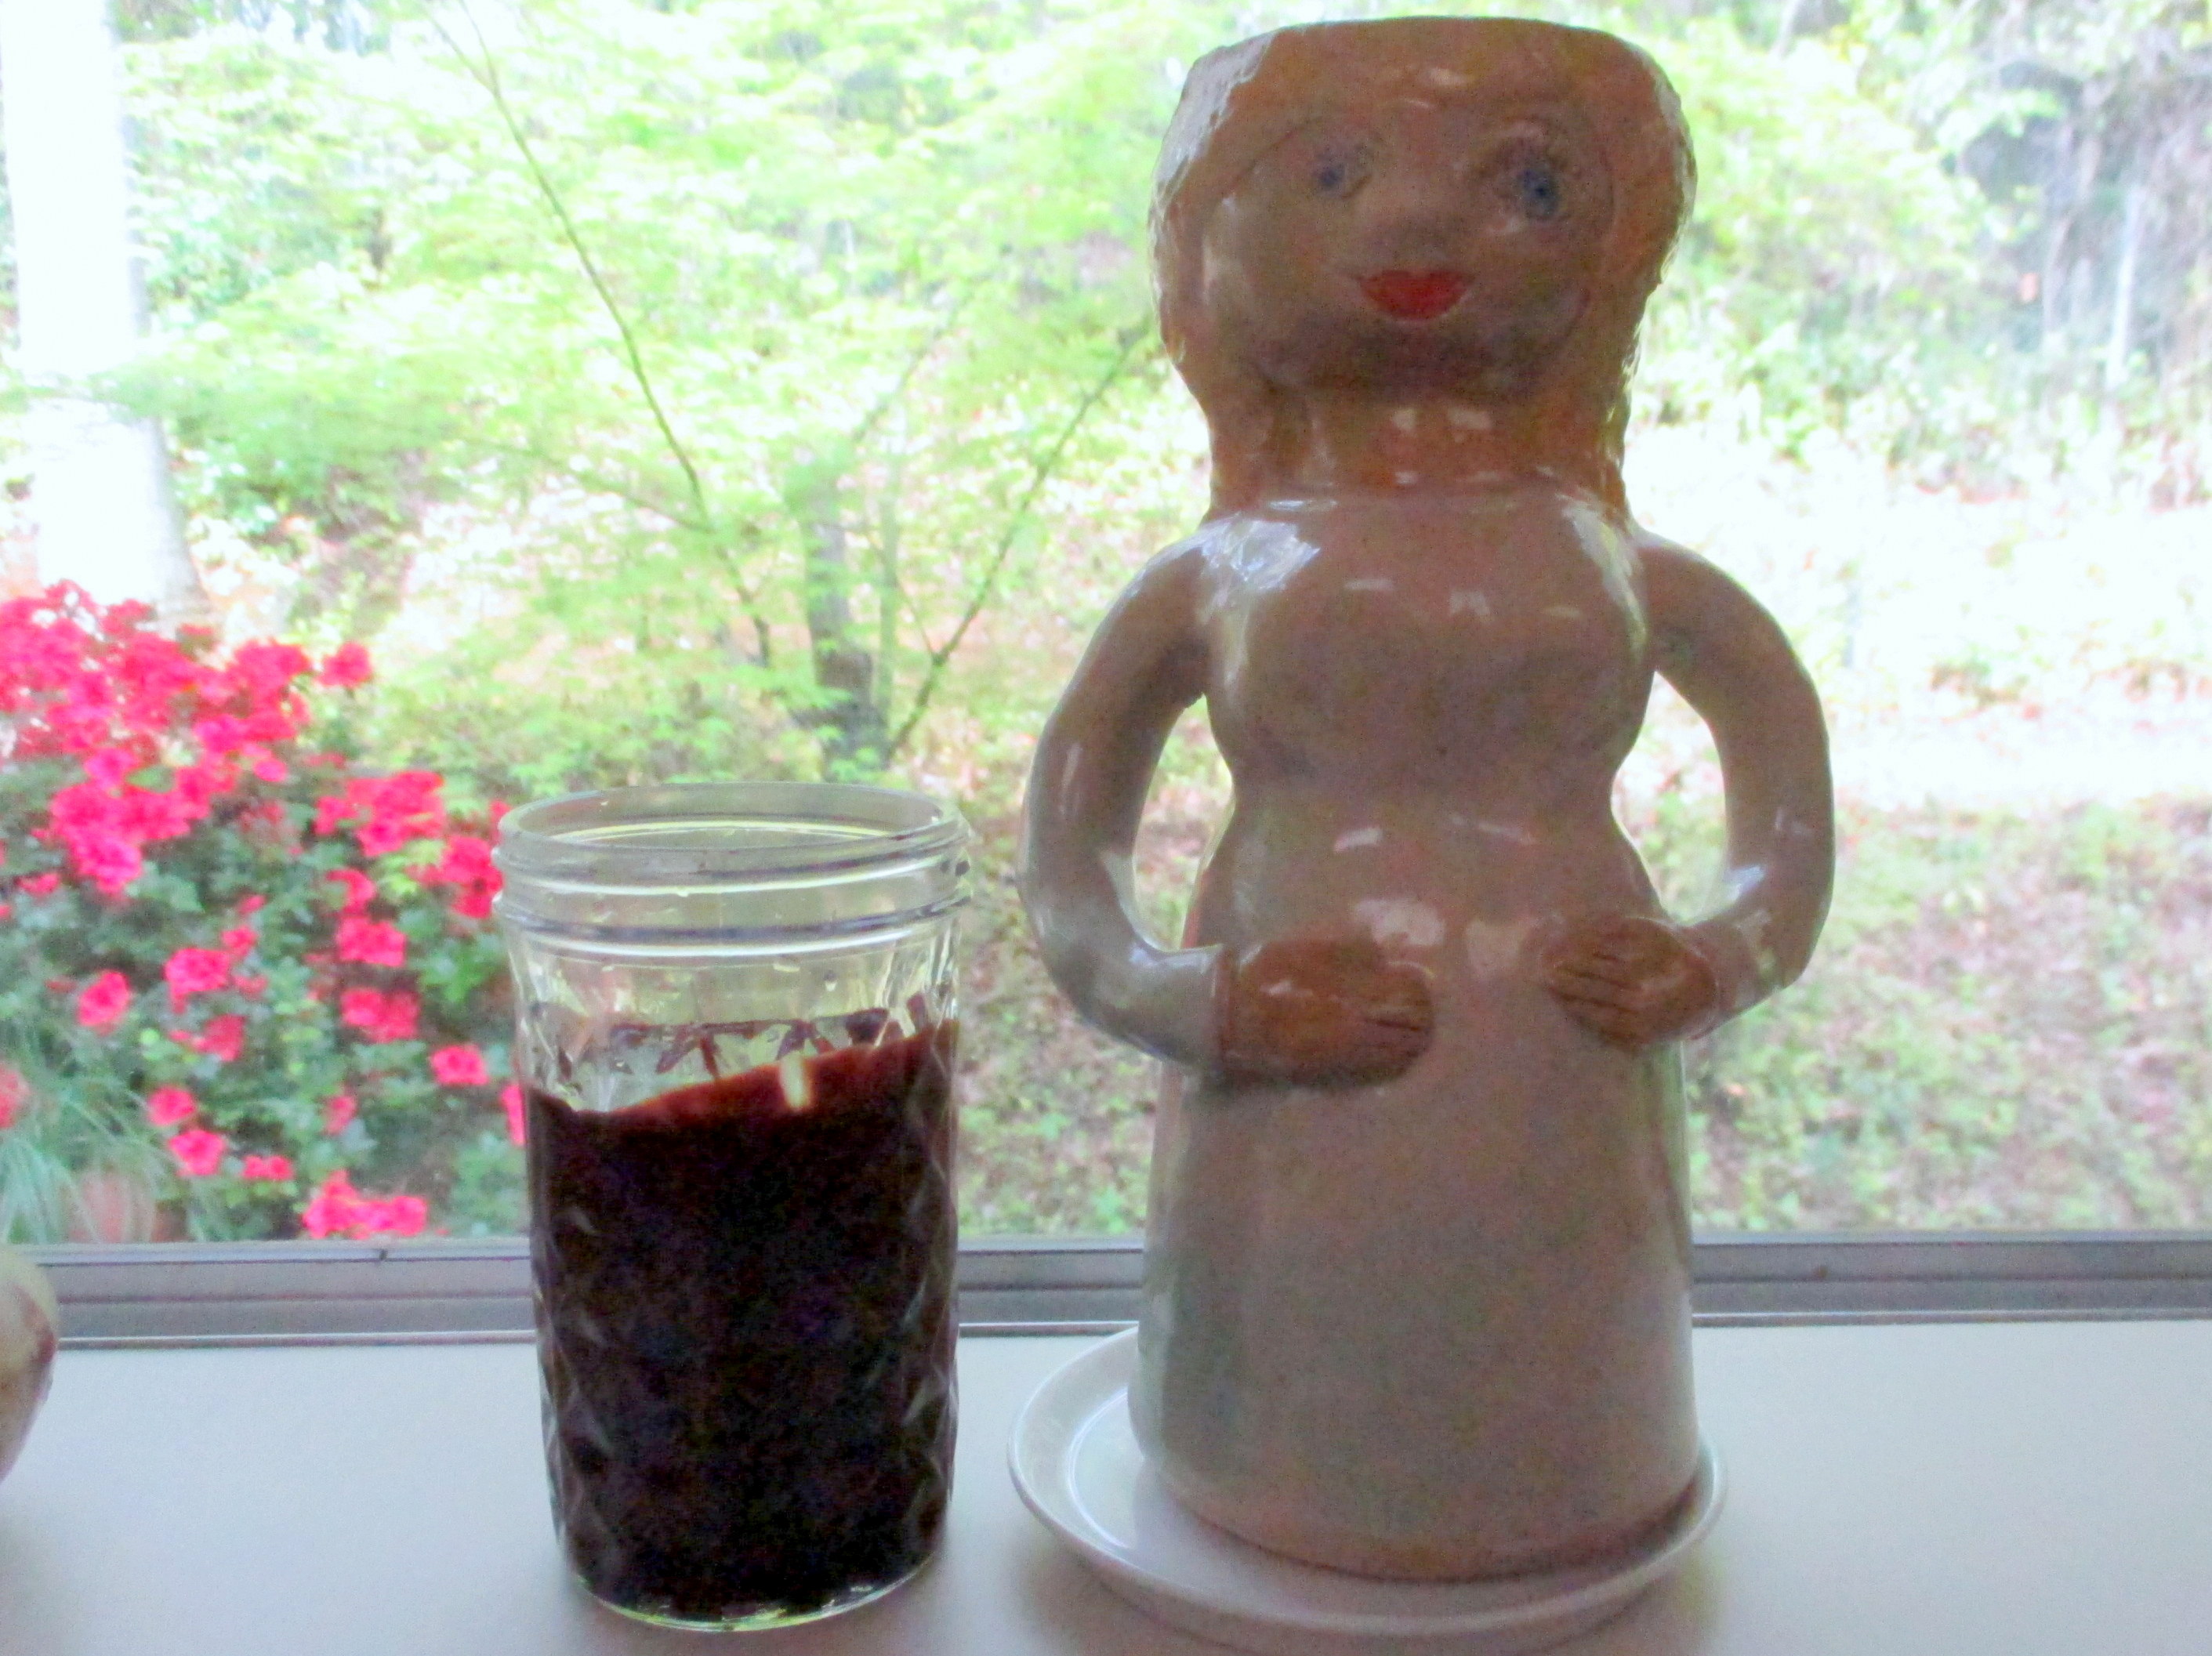
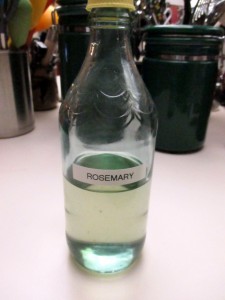
BONUS RECIPE: The whole recipe makes 1 ½ C of simple syrup. You will probably have syrup left over after making the sauce. This can be used to make herb syrup for fruit salad or to sweeten iced tea. Reheat the leftover syrup to boiling in a small saucepan or microwave-proof jar, remove from heat and add a sprig or two of fresh mint or rosemary; let steep, covered, for 30 minutes. Strain the syrup into a small jar or bottle and store in the fridge.
Options for serving the cupcakes:
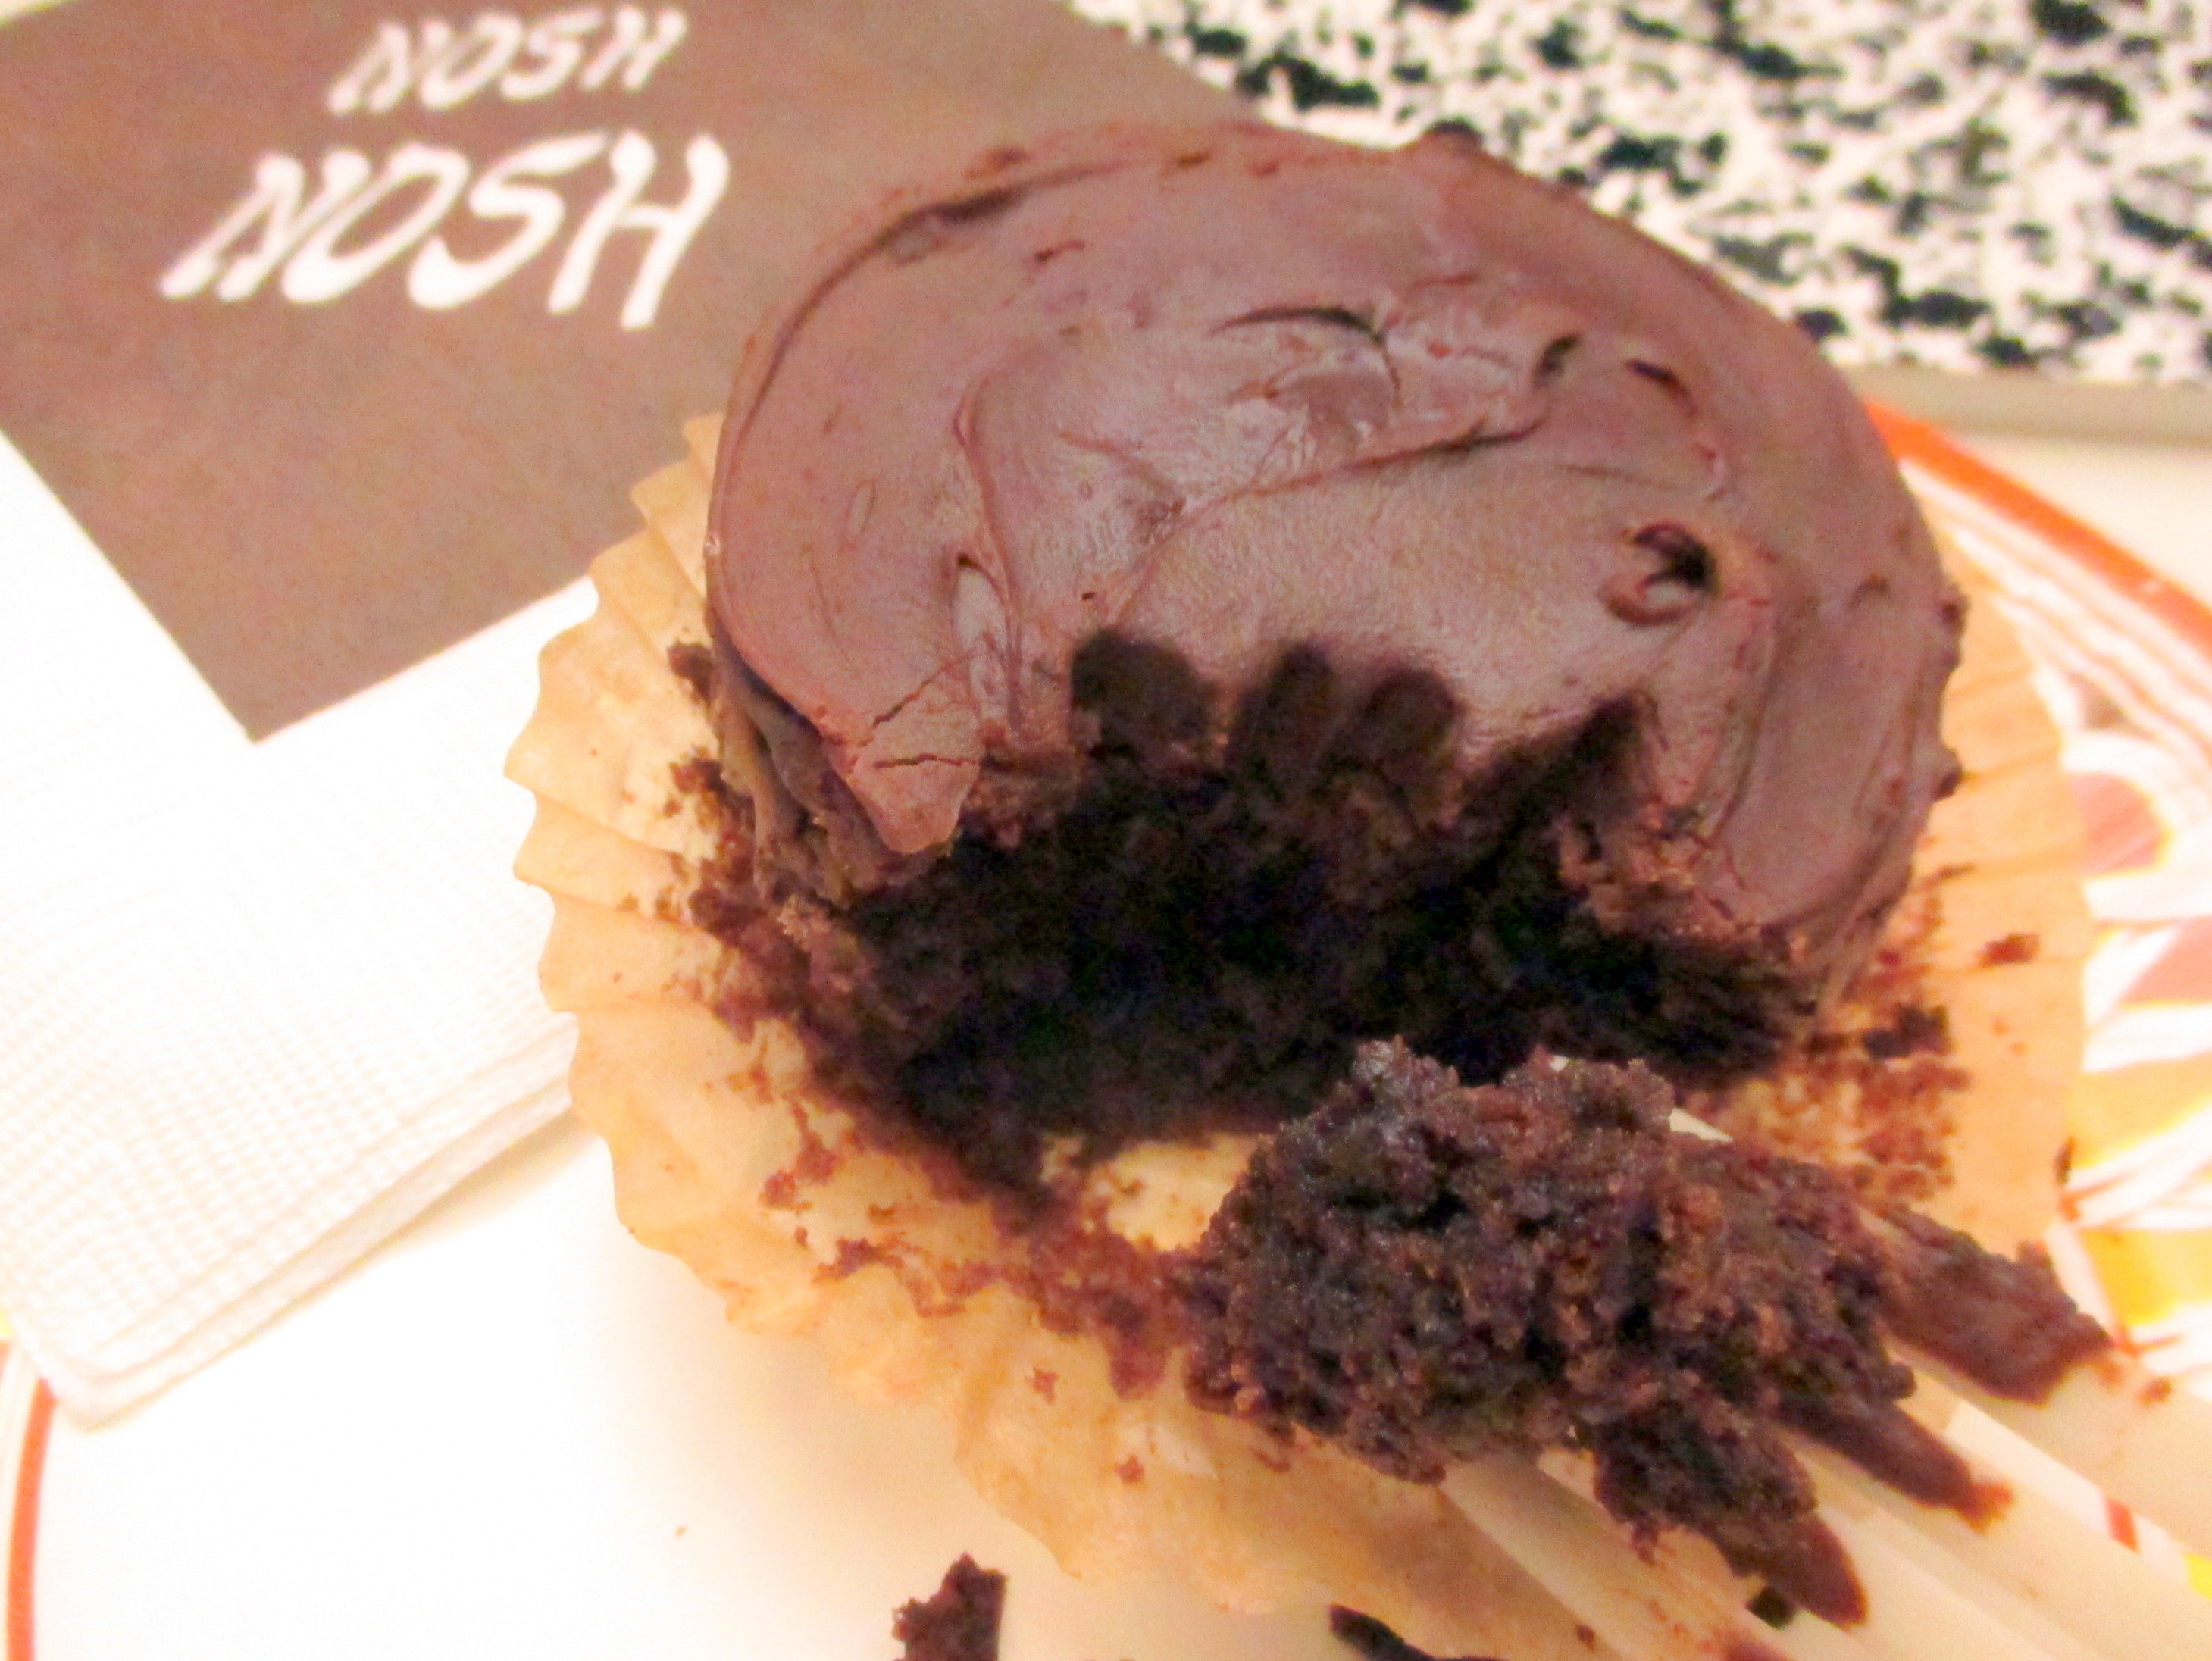 Chill the sauce until it firms up. When it comes from the fridge let it warm up to room temperature and then use it to top the cupcakes, keeping them in their papers. This makes a great lunchbox treat or informal snack.
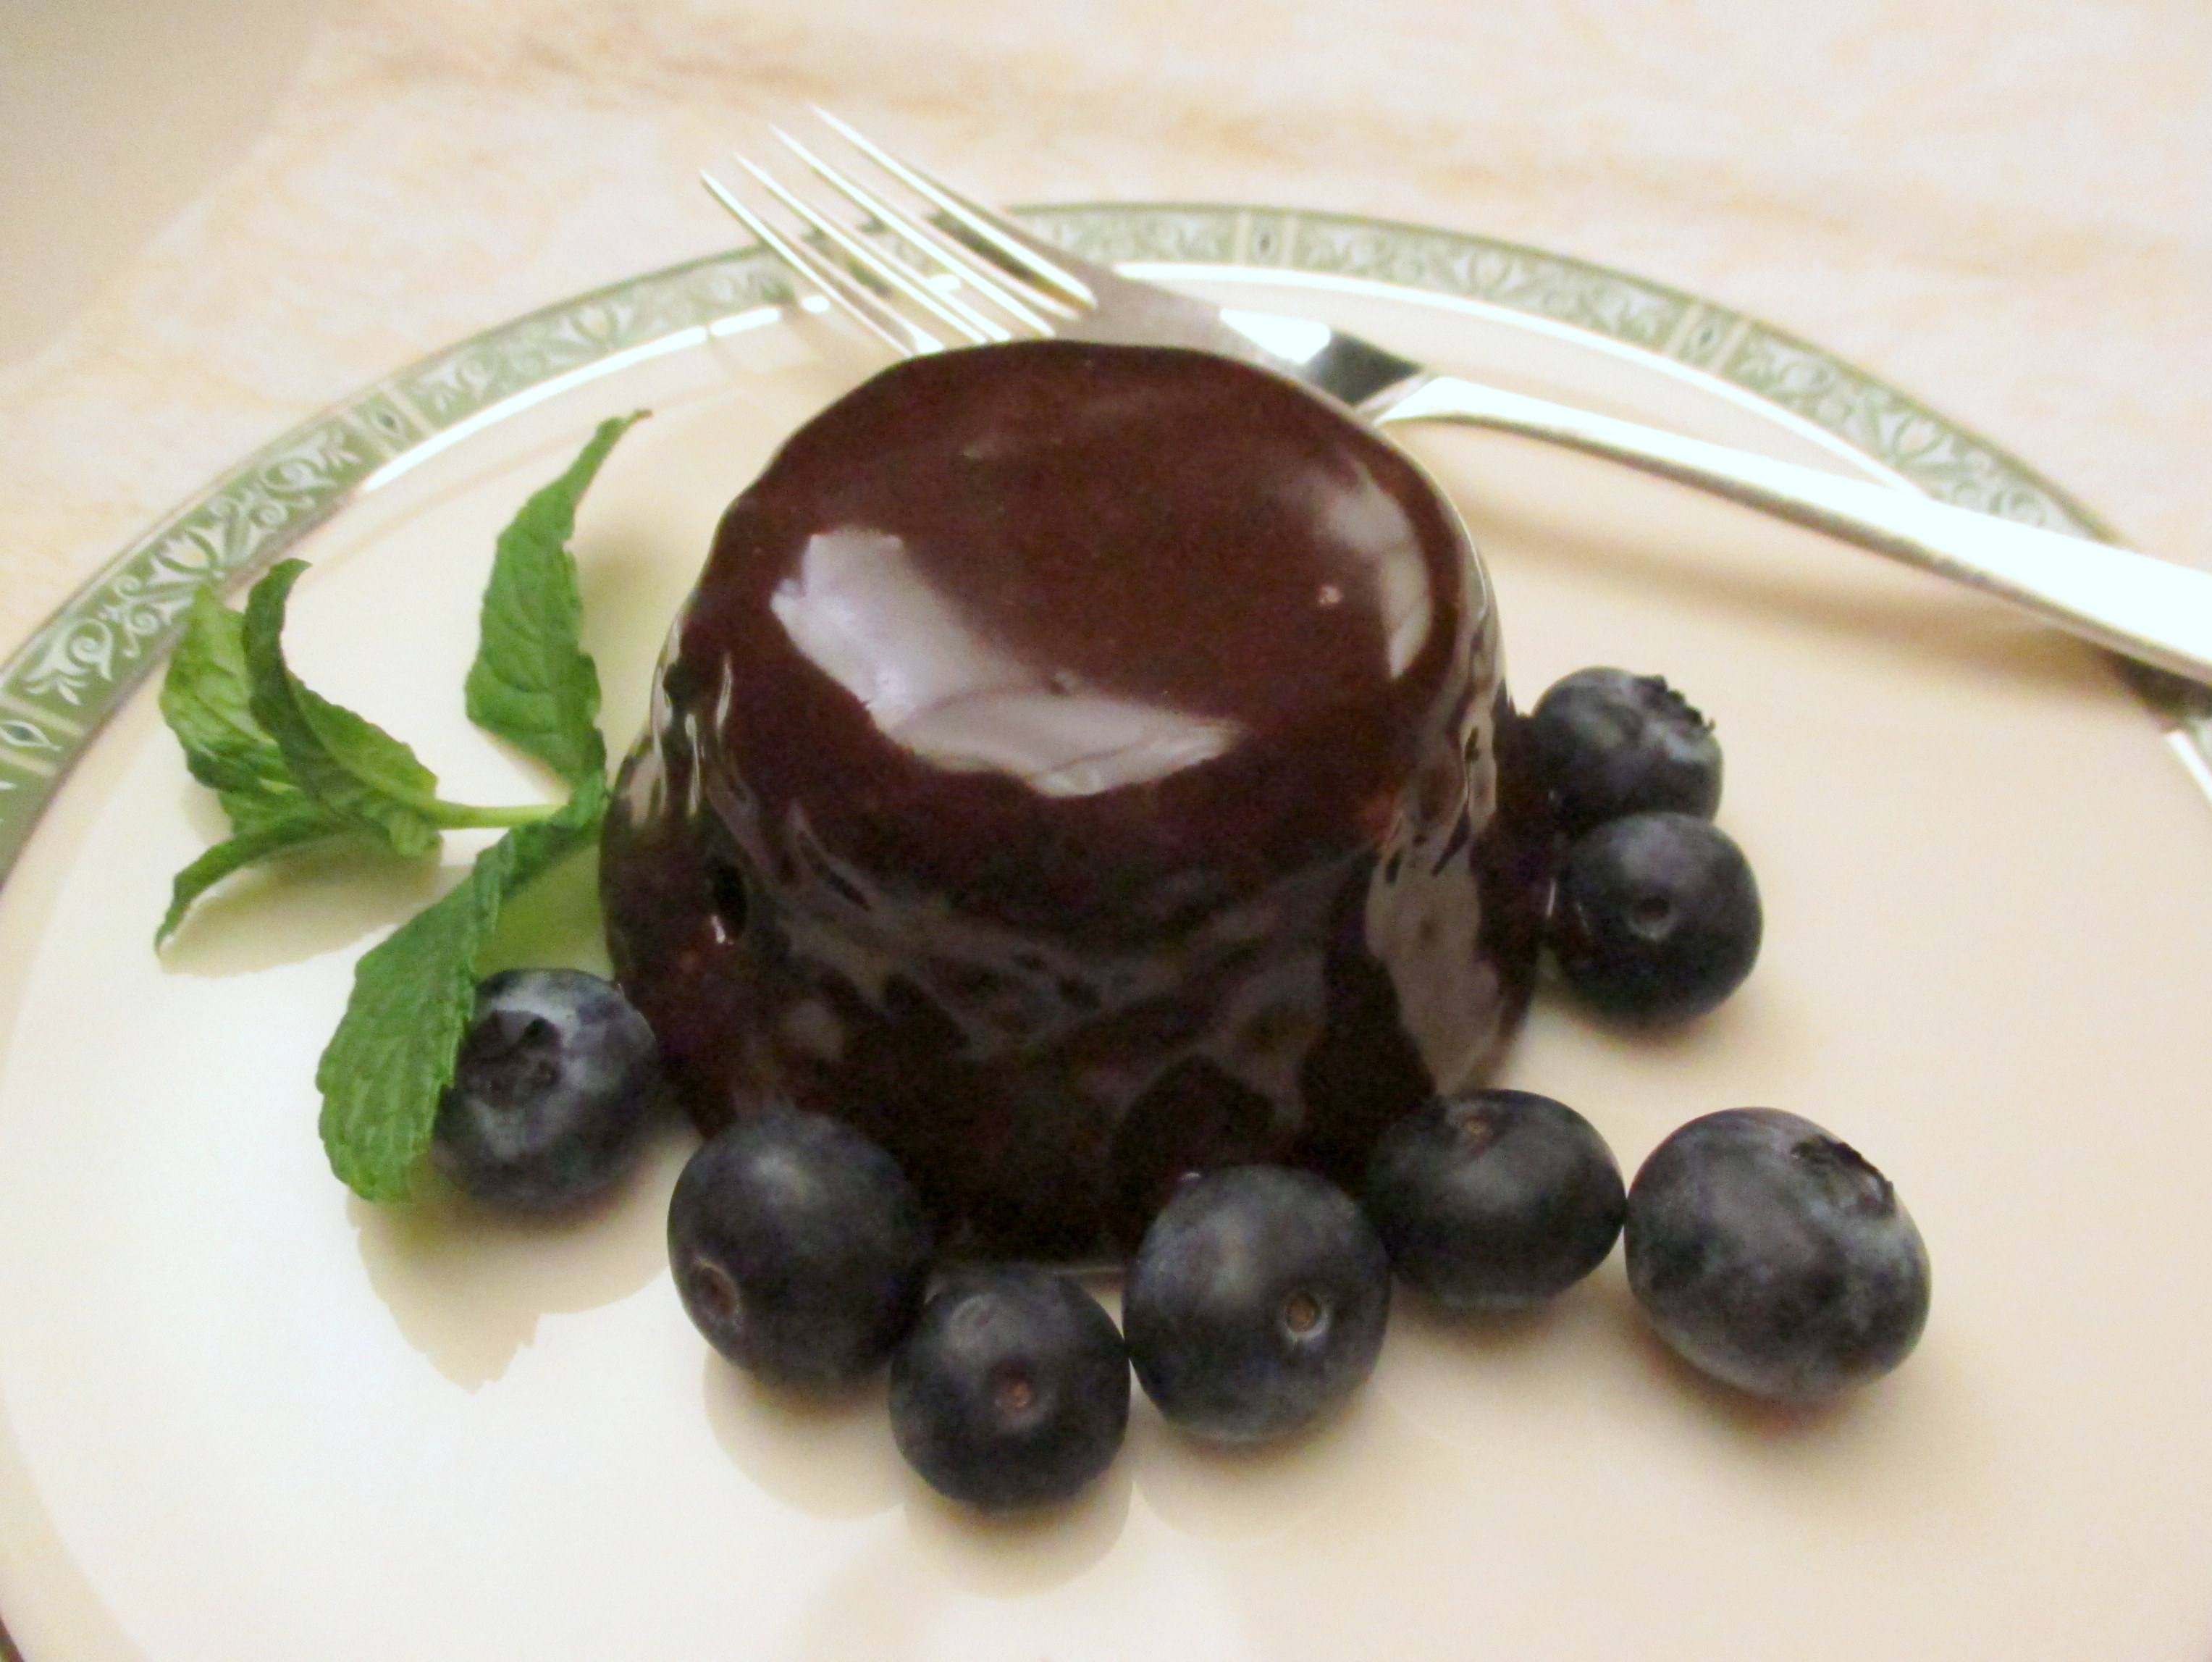 Remove the papers from the cupcakes and invert them onto a rack set over a foil or parchment covered rimmed cookie sheet. Pour the fluid sauce over the cupcakes and let it run down their sides to cover with glaze. (Or, you could just let the glaze run down part-way.) Scoop up the sauce that has flowed through the rack and use it for more cupcakes or save for later. Carefully remove glazed cakes from the rack onto a foil-covered cookie sheet and allow glaze to set up. The glazed cakes can be frozen in a tightly covered box and plated for serving while still frozen.
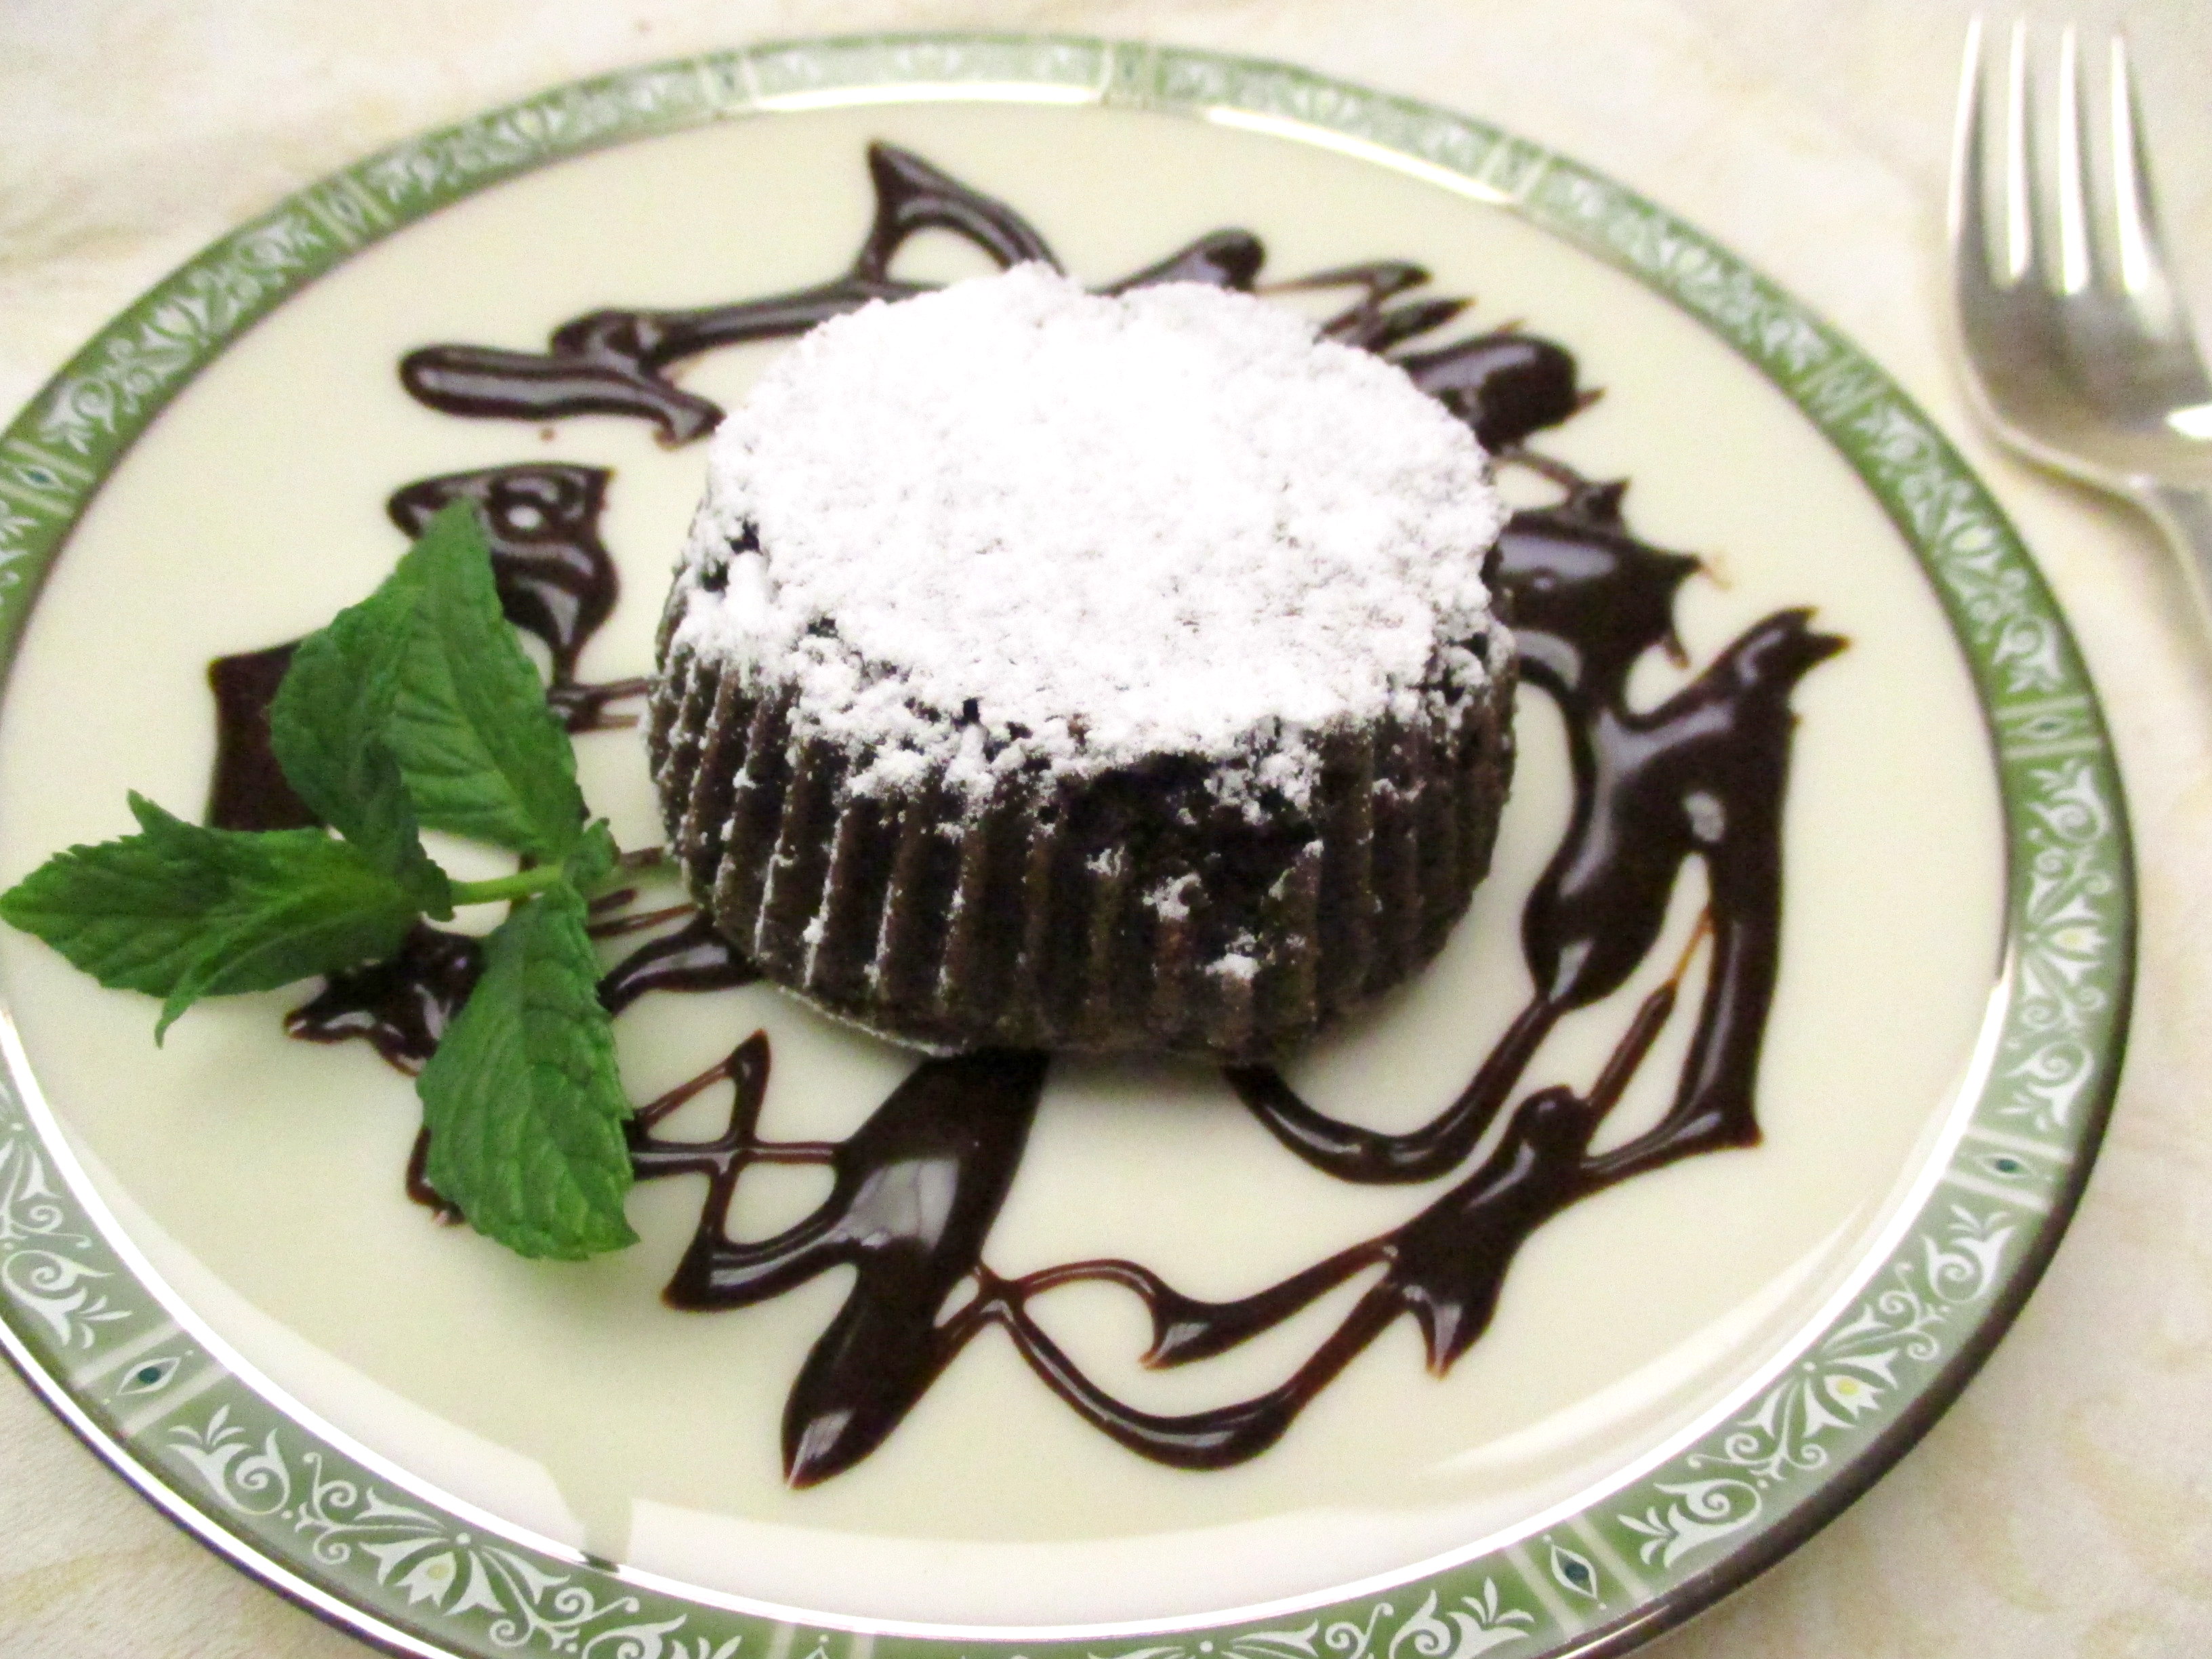
Set out dessert plates and drizzle each with the fluid sauce, Jackson Pollock style. Remove papers from cupcakes and place inverted cakes on the decorated plates. Dust tops with Passover confectioners’ sugar.

Evie,
I am getting your e-mails with your new postings. Beautifully done. Thank you.
xox
Shirley
Welcome aboard, Shirley! Hugs, Evie
Evie bonjour, I think it is always easier to melt the chocolate pieces on steaming water, the recipient should not touch the water, it avoids the temperature to be too high and to overcook the chocolate. Once the chocolate has melted, it has to be removed from the heat. Merci Evie, great recipe !
Bonjour dear Françoise! Of course yours is a time-tested method for melting chocolate. I have found that if I do it in the bowl in a skillet with simmering water, it’s easy to keep watch over the chocolate and remove it from the heat before it is completely melted. Stirring to melt the last bit off the heat prevents scorching. Many people prefer the microwave, but I don’t like opening and closing the door multiple times to check on the chocolate and then having to reset the microwave. Chacun à son goût!. I am glad you like the recipe!